Key Takeaways
- Chill dough for at least 2 hours or overnight to keep butter firm and slow melting during baking.
- Use a digital scale to measure flour accurately, as cup measures can vary by up to 30%.
- Bake on light-colored aluminum or stainless steel pans, which reflect heat and reduce spreading.
- Increase flour or reduce sugar in the recipe to limit dough flow and outward expansion.
- Preheat oven to the exact recipe temperature and rotate baking sheets halfway through for even heat distribution.
Understanding Why Cookies Spread
Spreading occurs when cookie dough contains ingredients that soften or liquefy during baking, allowing the mixture to flow outward before it sets.
You’ll find two primary culprits responsible for this unwanted expansion.
Fat melting is the first major factor.
When butter and oils heat up, they lose their solid structure, causing your dough to become increasingly fluid.
This liquefied fat reduces the dough’s ability to hold its shape.
Sugar liquefaction compounds this problem.
As heat increases, sugar dissolves and creates a syrupy consistency that promotes outward movement across your baking sheet.
You control these reactions by adjusting ingredient ratios, chilling your dough, and managing oven temperature.
Understanding these mechanisms gives you the power to bake cookies exactly as you envision them, without unwanted spreading compromising your results.
The Importance of Proper Ingredient Measurements
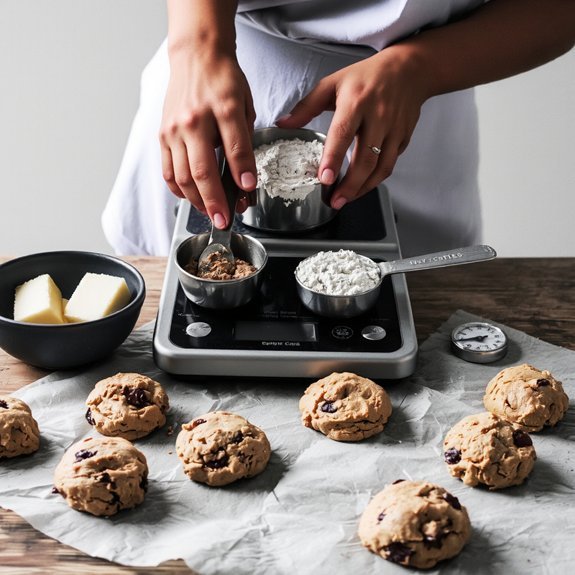
You’ll find that measuring flour accurately is essential for controlling cookie spread, as even small variations in dry ingredients substantially impact dough consistency.
Using a kitchen scale gives you precise measurements in grams, whereas cups can vary by up to 30% depending on how you scoop and pack the flour.
You should adopt the scale method to eliminate guesswork and achieve consistent results across every batch you bake.
Measuring Flour Accurately
One of the most common culprits behind cookie spread is improperly measured flour.
You’ll want to weigh your flour rather than scooping directly from the bag, as this method introduces significant measurement uncertainty.
Statistical sampling shows that scooping can vary by up to 25% in weight.
Here’s your approach: use a kitchen scale calibrated to zero.
Spoon flour into a container on the scale until you reach your target weight.
Don’t pack the flour down—you’re after a loose, aerated measurement.
If you’re without a scale, spoon flour into your measuring cup and level it with a knife.
Avoid compacting the flour, which artificially increases density and throws off your ratios.
Accurate flour measurement directly controls gluten development and moisture content, both critical factors in preventing excessive spread.
Scale Versus Cups
While accurate flour measurement sets the foundation for controlling cookie spread, the choice between scales and measuring cups fundamentally determines whether you’ll actually achieve that precision.
| Method | Accuracy | Portability | Cons |
|---|---|---|---|
| Digital Scale | ±1 gram | Moderate | Battery dependency |
| Mechanical Scale | ±5 grams | High | Less precise |
| Measuring Cups | ±10 grams | Excellent | Inconsistent packing |
Digital scales eliminate guesswork by weighing ingredients directly, ensuring consistent ratios that prevent spreading. However, battery dependency requires ongoing maintenance. Mechanical scales offer portability differences—they’re compact and reliable without power concerns, though slightly less accurate.
Measuring cups seem convenient, but their portability differences mask a critical flaw: users unconsciously pack flour differently each time, creating variable densities that sabotage your results.
You’re not bound by tradition. Choose scales for absolute control over your baking outcomes.
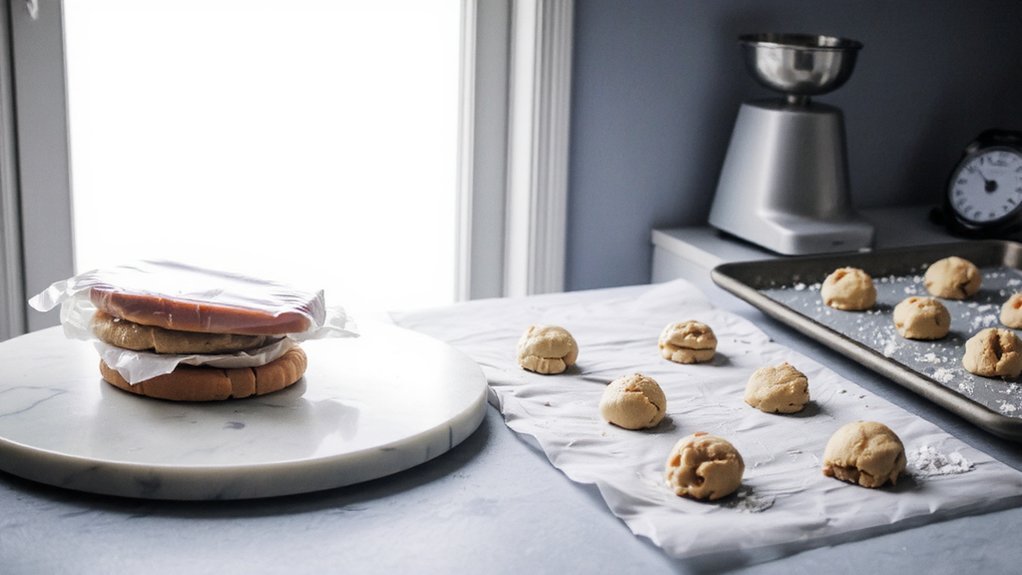
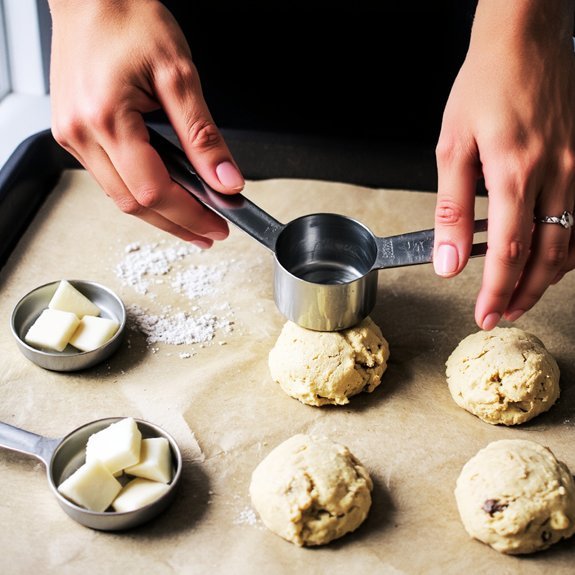
Chilling Your Dough for Best Results

Because cookie dough spreads during baking, chilling it beforehand is essential for controlling that spread and achieving the desired texture. You’ll want to refrigerate your dough for at least two hours, though overnight chilling produces ideal results.
Cold dough firms up the butter, which slows melting during baking and prevents excessive spreading.
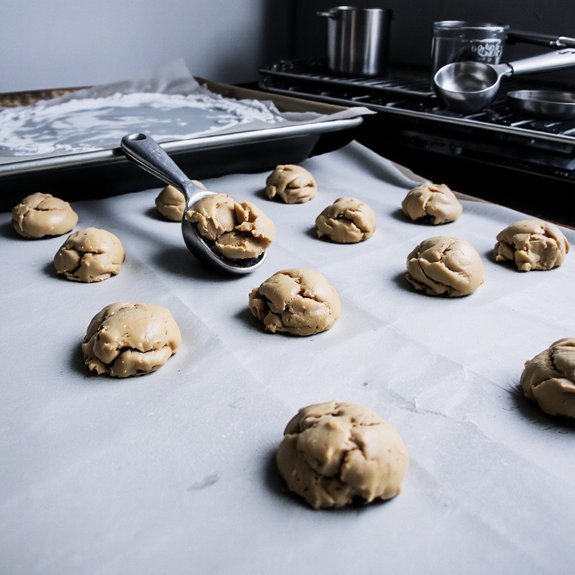
For batch freezing, you can portion your dough into balls and freeze them for up to three months. This method gives you complete control over your baking schedule.
Your portioning tips should include using uniform sizes—about one tablespoon per cookie—to guarantee consistent baking times and appearance.
When you’re ready to bake, you don’t need to thaw frozen dough; simply add a minute or two to your baking time. This approach maximizes your freedom to bake fresh cookies whenever you choose.
Using the Right Baking Sheet and Temperature
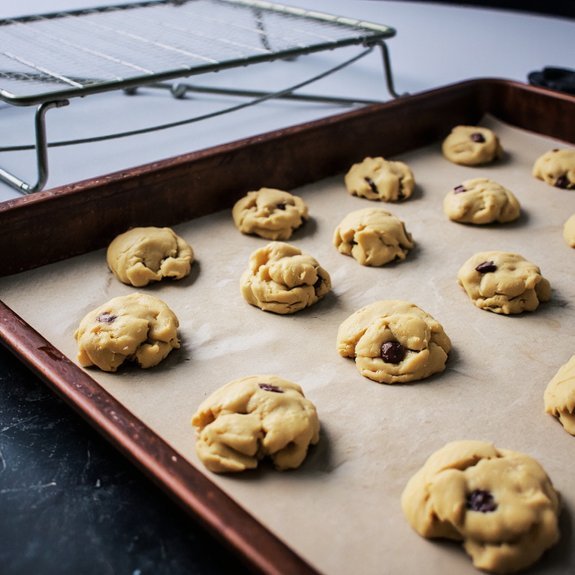
Your choice of baking sheet directly impacts how your cookies spread and bake.
You’ll want to use light-colored pans, as they reflect heat rather than absorb it, preventing excessive spreading and browning.
Dark pans accelerate heat conduction, causing cookies to spread too quickly and develop dark bottoms before their centers cook through.
Opt for aluminum or stainless steel sheets—materials that distribute heat evenly.
You should avoid insulated baking sheets, which trap heat and result in uneven baking.
Always preheat your oven to the exact temperature your recipe specifies; even 25 degrees matters.
You’re in control here.
Invest in quality baking sheets and maintain consistent oven temperatures.
This combination gives you the power to achieve perfectly shaped cookies with ideal texture every time.
Adjusting Your Recipe for Desired Texture
Beyond selecting the right equipment, you’ll need to adjust your recipe’s ingredients to control how much your cookies spread and what texture they’ll have when done.
Fat substitution plays a vital role—using butter instead of oil reduces spreading, while oil-based doughs flow more freely.
Sugar types directly impact texture and spread rate. Brown sugar contains molasses, which adds moisture and increases spreading, creating chewier cookies. White sugar produces less spread and crispier results.
Consider reducing sugar content overall to minimize flow. Increasing flour slightly absorbs excess moisture, controlling spread.
Egg ratios matter too—fewer eggs means less binding and more spread, while additional eggs create structure.
You’re in command of your cookie’s final form through deliberate ingredient adjustments.
Troubleshooting Common Spreading Problems
Why do your cookies still spread excessively even after you’ve adjusted your ingredients? You’re likely dealing with oven hotspots or pan crowding—two common culprits that sabotage your results.
Your cookies still spreading excessively? Oven hotspots and pan crowding are likely the culprits sabotaging your results.
Oven hotspots create uneven heat distribution, causing cookies on certain areas to bake faster and spread more aggressively.
Rotate your baking sheets halfway through baking to counteract this problem.
Use an oven thermometer to verify your oven’s actual temperature matches the setting.
Pan crowding forces cookies into too-close proximity, allowing them to merge and spread into irregular shapes.
Space each cookie at least two inches apart on your baking sheet.
This distance gives them freedom to expand without touching neighbors.
Test both issues systematically.
Document which spots experience excessive spreading and adjust your placement accordingly.
These straightforward fixes restore your control over cookie texture and appearance.
Frequently Asked Questions
Can I Freeze Cookie Dough Before Baking to Prevent Spreading?
Yes, you can freeze cookie dough to prevent spreading. Freezing benefits include firmer dough that resists expansion during baking.
You’ve got two thawing methods: refrigerate dough overnight before baking, or bake directly from frozen—just add 1-2 minutes to your bake time.
Cold dough won’t spread as aggressively, giving you thicker, chewier cookies. This approach gives you complete control over your baking results without chemical additives or complicated techniques.
What Type of Flour Works Best for Preventing Cookies From Spreading?
You’ll find that bread flour works best for preventing cookies from spreading.
Its higher protein content—around 12-14%—creates stronger gluten networks that hold your dough intact during baking.
Avoid cake flour, which contains lower protein levels and won’t provide adequate structure.
How Does Humidity in My Kitchen Affect Cookie Spreading During Baking?
Your kitchen’s ambient humidity directly impacts cookie spreading during baking. High moisture content causes your dough to relax excessively, allowing cookies to flatten and spread beyond desired limits. You’ll experience compromised cookie texture—they’ll become thin and crispy rather than maintaining structure.
Lower humidity environments let you achieve denser, chewier results. Monitor your kitchen’s moisture levels and adjust baking times accordingly to maintain control over your final product’s shape and consistency.
Should I Use Parchment Paper or Silicone Mats to Prevent Spreading?
You’ll want parchment paper for superior cookie control.
Its surface texture naturally resists oil absorption, giving you better baking temperature distribution and preventing excessive spreading.
Silicone mats conduct heat more aggressively, which can cause unwanted flow.
Parchment paper grants you independence from variables—you’re not locked into your mat’s thermal properties.
You’ll achieve consistent, controlled results that respect your baking preferences without compromising your desired cookie structure.
Does the Order of Mixing Ingredients Impact How Much Cookies Spread?
Yes, your creaming sequence directly controls spread.
When you cream butter and sugar first, you’re aerating the mixture, which affects how your dough sets.
Salt timing matters too—adding salt early strengthens gluten development, reducing spread.
You’ll get tighter, chewier cookies by creaming thoroughly and incorporating salt with dry ingredients.
Master this sequence, and you’ll command your cookie’s final texture without relying on external constraints.


Leave a Comment