Key Takeaways
- Feed your starter once or twice daily depending on temperature (68–72°F = once; 72–78°F = twice daily).
- Use active, bubbly starter at peak rise (4–8 hours after feeding) for maximum leavening power in dough.
- Mix starter with flour and water, autolyse 30–60 minutes, then bulk ferment 4–8 hours with stretch-and-folds.
- Create pancakes (1 cup starter) or waffles (1½ cups starter) by resting batter overnight for flavor development.
- Bake dough in preheated Dutch oven at 450°F for 20 minutes covered, then 25–30 minutes uncovered.
Understanding Your Sourdough Starter
Why does your starter behave differently than your neighbor’s?
You’re cultivating unique microbial ecology influenced by your environment, water chemistry, and flour type.
Your starter isn’t just alive—it’s a complex ecosystem of wild yeast and lactic acid bacteria competing for dominance.
Your starter is a living battlefield where wild yeast and bacteria wage constant war for supremacy.
Understanding flavor chemistry helps you control your fermentation’s direction.
Temperature, feeding ratios, and hydration levels directly impact which microbes thrive, subsequently altering your bread’s taste profile.
A warm kitchen favors faster fermentation; cooler conditions develop tangier complexity.
You’ve got freedom here.
Your starter’s strength lies in recognizing that consistency matters more than perfection.
Feed it regularly, observe its peak rise time, and adjust your schedule accordingly.
Master these variables, and you’ll produce bread that genuinely reflects your specific starter’s potential.
Daily Feeding and Maintenance Schedule
You’ll feed your starter daily—typically once or twice, depending on your kitchen’s temperature and your baking schedule. Establish a consistent feeding routine at the same times each day to create predictable fermentation patterns.
| Temperature | Feeding Frequency |
|---|---|
| 68-72°F | Once daily |
| 72-78°F | Twice daily |
| 78°F+ | Three times daily |
| Below 68°F | Every 12-24 hours |
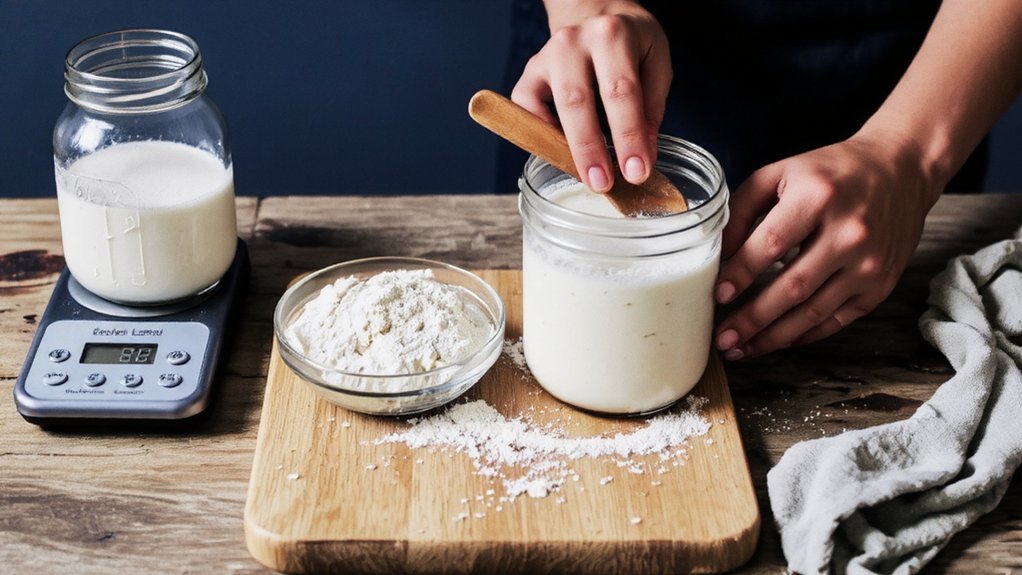
Keep your starter at consistent kitchen placement away from drafts and direct sunlight. Use dedicated tools—spoon, jar, scale—and maintain strict tool sanitation between feedings. Discard half your starter before each feeding, then add equal parts flour and filtered water by weight. This disciplined approach prevents contamination while building a robust, active culture that gives you complete control over your fermentation timeline and baking results.
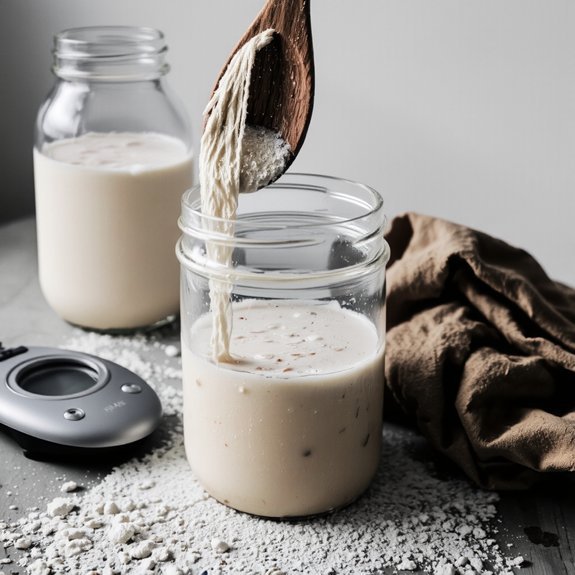
Signs of a Healthy and Active Starter
How can you tell when your starter’s truly ready to work?
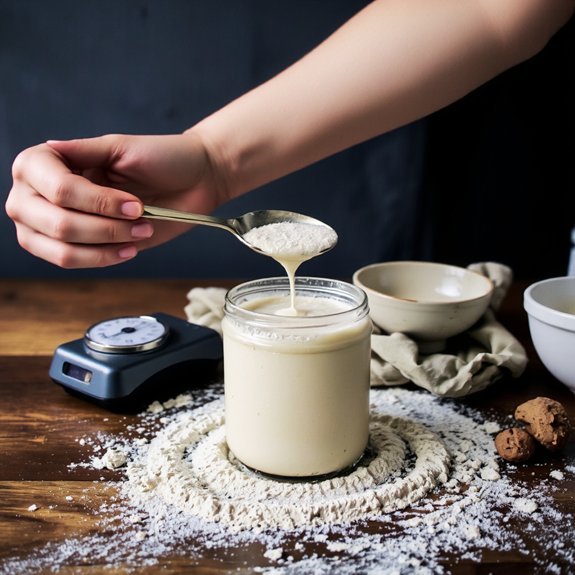
You’ll notice a vigorous bubble pattern throughout the mixture—not just surface bubbles, but consistent activity from top to bottom.
Your starter should double in size within 4-8 hours of feeding, demonstrating genuine fermentation power.
The aroma notes shift dramatically too. A mature starter smells pleasantly sour and yeasty, never acetone-like or off-putting. This complexity indicates balanced microbial activity.
Check the consistency: it should be elastic and bubbly, with a slightly domed top.
When you feed it, the old starter completely incorporates with fresh flour and water—no separation or sluggishness.
Trust your senses. A healthy starter’s unmistakable vigor gives you the confidence to bake boldly, knowing you’ve got an active, reliable culture ready to transform your dough.
Preparing Your Starter for Baking
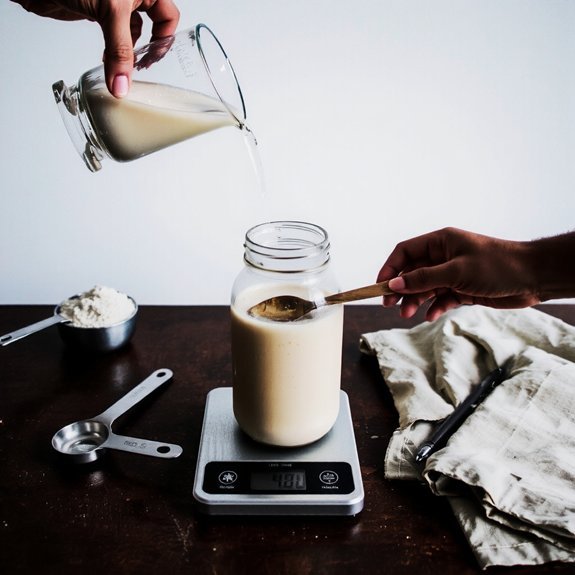
You’ll need to establish a consistent feeding schedule—typically doubling your starter’s volume with equal parts flour and water every 12 hours—to build the vigor required for reliable fermentation.
Temperature profoundly affects your starter’s activity; you’re aiming for a peak rise of 4-8 hours at 75-80°F, which tells you when your culture has developed sufficient leavening power for mixing into dough. Master these ratios and timing windows, and you’ll eliminate guesswork from your baking process, ensuring predictable rise times and consistent results batch after batch.
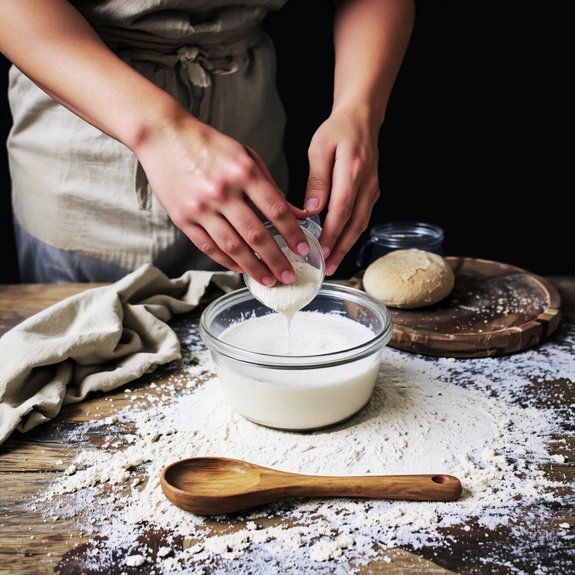
Feeding Schedule and Ratios
Once your starter’s established and showing consistent rise-and-fall patterns, it’s time to dial in a feeding schedule that’ll prime it for baking. You’ll want a 1:1:1 ratio—equal parts starter, flour, and water by weight—for daily maintenance. This keeps your culture vigorous without overfeeding.
Use a clear jar with your labeling system marked to track rise heights precisely. Your jar aesthetics matter too; you’ll monitor this daily, so make it functional.
For peak baking readiness, feed 4-8 hours before mixing dough. Some prefer twice-daily feedings for maximum strength. Adjust ratios based on your kitchen’s temperature and your schedule’s demands. Warmer environments accelerate fermentation, requiring less frequent feedings. You’ve got flexibility here—master your starter’s rhythm, and you’ll command consistent, reliable results every time.
Temperature and Timing Guidelines
Why does temperature matter so critically? You’re controlling fermentation speed and flavor development.
Your starter thrives between 75-80°F, where wild yeast and bacteria work most effectively. Below 70°F, activity slows dramatically; above 85°F, you’ll risk off-flavors and inconsistent results.
Timing depends entirely on temperature. At 78°F, expect peak activity in 4-6 hours. Cooler conditions? Plan 8-12 hours. This thermal cycling—moving your starter between room and warmer spots—lets you master your schedule rather than serve it.
Humidity effects matter too. Drier environments accelerate fermentation; moisture slows it. You’ll notice your starter’s behavior changing seasonally.
Track everything. Document temperatures and rise times. You’re building experiential knowledge that no recipe can provide, gaining the independence serious bakers need.
Basic Sourdough Bread Recipe
You’ll want to mix your active starter with flour, water, and salt until you’ve achieved a shaggy dough, then knead for about 10 minutes until it’s smooth and elastic.
Your bulk fermentation should take 4-6 hours at room temperature with regular stretch-and-folds every 30 minutes, followed by a cold overnight proof in the refrigerator that develops flavor and makes scoring easier.
Bake your loaf in a preheated Dutch oven at 450°F for 20 minutes covered, then 25-30 minutes uncovered, until you’ve built a deep mahogany crust with an internal temperature of 205-210°F.
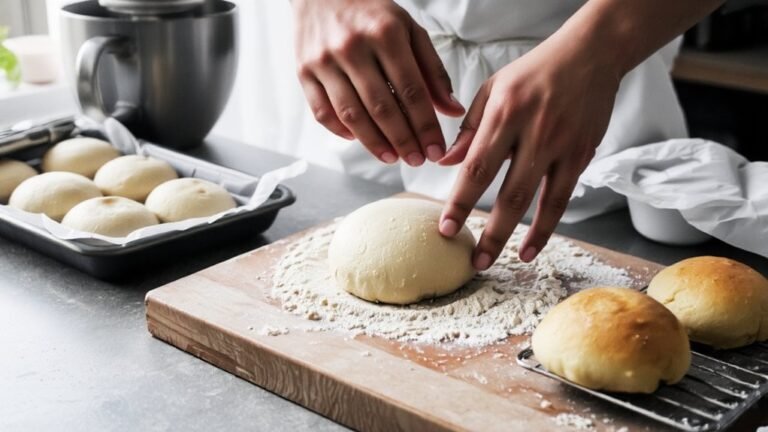
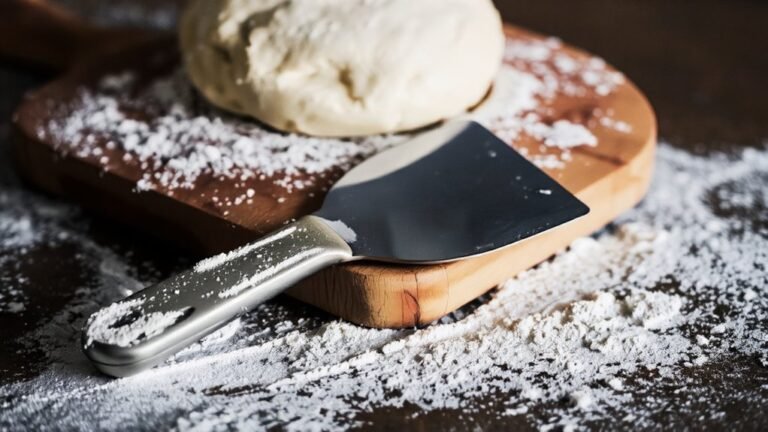
Mixing and Kneading Dough
Combining your active starter with flour, water, and salt creates the foundation for exceptional sourdough, and getting this step right’ll transform your final loaf’s structure and flavor.
Start with an autolyse—let flour and water rest for 30-60 minutes before adding starter and salt. This hydration period develops gluten naturally, reducing kneading time and enhancing extensibility.
Mix until shaggy, then knead for 8-10 minutes until smooth and elastic.
You’ll know you’re done when the dough passes the windowpane test: stretch a small piece thin enough to see light through it without tearing.
Don’t overwork your dough—you’re building strength, not fighting it.
Proper kneading develops the gluten network that traps gas, creating that coveted open crumb structure you’re after.
Trust the process, stay consistent, and your loaf’ll reward you.
Fermentation and Rising Times
Once your dough’s properly developed, fermentation becomes where the magic truly happens—this is when time, temperature, and biology transform your kneaded dough into something extraordinary.
You’re witnessing microbial succession as wild yeast and bacteria establish dominance, breaking down starches and proteins through enzyme kinetics that develop flavor and structure.
You’ll typically employ bulk fermentation for 4-8 hours at room temperature, depending on your environment.
Watch for a 50-75% volume increase and visible bubbling—that’s your indicator of progress.
Cold retarding (overnight in the fridge) slows fermentation deliberately, enhancing complexity while granting you scheduling flexibility.
Don’t rush this phase.
Temperature control matters profoundly; warmer conditions accelerate microbial activity, while cooler temperatures allow subtler flavor development.
Your freedom lies in understanding these variables and adjusting fermentation to your preferences and circumstances.
Baking Temperature and Crust
Because crust development depends entirely on oven conditions, you’ve got to master heat management to achieve that coveted caramelized exterior.
Preheat your oven to 450–475°F for ideal results.
You’ll want steam during the first 15–20 minutes of baking—this keeps your dough’s surface moist, allowing it to expand freely before the crust sets.
The Maillard Reaction transforms your bread’s exterior, creating that deep brown color and complex flavor profile you’re after.
Without sufficient heat, this chemical process won’t occur, leaving you with pale, bland crust texture.
After steam dissipates, lower your temperature to 425°F for the remaining bake time.
This prevents burning while allowing thorough internal cooking.
Your finished loaf should sound hollow when tapped—that’s your signal of success.
You’ve earned that artisanal crust through precise temperature control.
Using Starter for Pancakes and Waffles
Your sourdough starter transforms pancakes and waffles into remarkably fluffy, complex-flavored creations that’ll outshine any commercial mix. The wild yeast and bacteria deliver authentic tang while creating an airy crumb structure you won’t achieve otherwise.
| Ingredient | Pancakes | Waffles | Notes |
|---|---|---|---|
| Starter | 1 cup | 1½ cups | Use active, bubbly culture |
| Buttermilk substitute | ½ cup yogurt | ¾ cup yogurt | Activates leavening power |
| Eggs | 2 | 3 | Binds and enriches |
| Oil | 2 tbsp | 3 tbsp | Promotes crispy exteriors |
Let your batter rest overnight—this fermentation develops depth. Incorporate flavor variations like vanilla, cinnamon, or lemon zest for personalized results. You’re not just making breakfast; you’re reclaiming control over what you feed yourself and your family. Trust your starter’s performance.
Storage and Long-Term Care
Maintaining a thriving starter requires consistent feeding schedules and thoughtful storage decisions that’ll determine whether you’ve got a reliable baking partner or a neglected jar of mold.
Consistent feeding schedules and smart storage choices determine whether you’ve got a reliable baking partner or neglected jar of mold.
You’ve got flexibility here—choose the method matching your baking frequency.
Storage Options:
- Active maintenance: Feed weekly at room temperature for constant readiness
- Refrigerated dormant storage: Feed monthly in the fridge, extending intervals between feedings
- Freezer revival: Preserve starter long-term by freezing portions in ice cube trays
- Dehydrated backup: Spread thin layers on parchment, dry completely, store in airtight containers
- Sealed jar method: Cap tightly in cold storage for months without feeding
You control your starter’s pace.
Take charge of your fermentation freedom by selecting dormant storage when life gets hectic, then resurrect your culture whenever inspiration strikes.
Troubleshooting Common Starter Problems
Even with perfect storage practices, starters can develop issues that’ll test your troubleshooting skills and patience.
If you’re noticing mold or off-odors, equipment sterilization is non-negotiable—wash everything your starter touches with hot, soapy water or use a sanitizing solution.
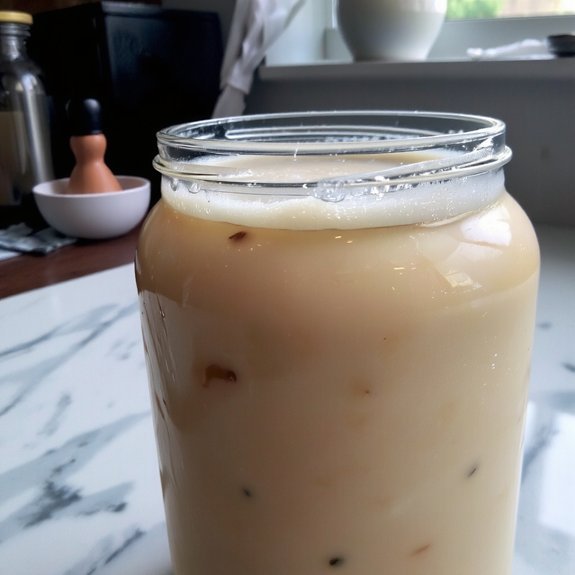
Gray liquid (hooch) indicates hunger; just feed your starter more frequently.
Sluggish fermentation often stems from water chlorination in your tap water.
Use filtered or bottled water instead to revive activity.
If your starter smells like nail polish, it’s acetone production from stress—increase feeding frequency and maintain consistent temperatures.
Pink discoloration signals contamination; discard and start fresh.
Trust your instincts: a healthy starter smells pleasantly sour and shows predictable rise-and-fall patterns.
You’ve got this.
Scaling Recipes for Different Starter Strengths
Once you’ve got a healthy, predictable starter, you’ll quickly discover that not all starters behave identically—and that’s where recipe scaling becomes essential.
Your starter’s strength determines fermentation speed and rise times.
You’ll need to adjust recipes based on:
- Batch multiplication ratios to match your starter’s activity level
- Metric conversions for precise ingredient measurements across different scales
- Hydration percentages that account for your starter’s consistency
- Fermentation timeframes adjusted for starter vigor
- Inoculation rates reflecting your culture’s potency
A vigorous starter demands less bulk fermentation time.
A sluggish one requires patience and longer development.
By understanding your starter’s strength—whether it doubles in four hours or eight—you’ll scale recipes confidently.
This mastery gives you control over your baking timeline and final loaf quality.
You’re not bound by standard recipes; you’re adapting them to your unique microbial ecosystem.
Frequently Asked Questions
Can I Use Sourdough Starter if I’m Allergic to Gluten or Have Celiac Disease?
You can absolutely use sourdough starter if you’re celiac or gluten-sensitive—but you’ll need gluten-free flour.
The fermentation process breaks down proteins, making it easier on your system.
However, watch for gluten contamination and cross contact risks during preparation.
Keep your starter, utensils, and workspace completely separate from wheat products.
Use dedicated equipment and maintain meticulous hygiene protocols.
This reclaims your freedom to enjoy sourdough’s tangy complexity safely.
How Do I Convert My Sourdough Starter to Whole Wheat or Alternative Flour?
You’ll gradually replace your white flour with whole wheat or alternatives—start by substituting 25% and increase weekly.
You’ll need hydration adjustment since whole grains absorb more water; add extra liquid incrementally.
This slower conversion lets flavor development flourish without overwhelming your starter’s established culture.
You’re building complexity and nutrient density while maintaining your starter’s strength.
Trust the process—your palate’ll reward your patience with deeper, richer sourdough character.
What’s the Difference Between Sourdough Starter and Commercial Yeast for Baking?
You’re choosing between wild fermentation and commercial convenience.
Sourdough starter gives you flavor complexity through extended fermentation, while commercial yeast delivers predictable, faster results.
You’ll control fermentation speed with your starter—no rigid timelines dictating your baking freedom.
Commercial yeast offers consistency but sacrifices the nuanced, tangy depth that natural fermentation develops.
You’ve got the power to decide: quick standardization or slow-crafted authenticity.
Can Sourdough Starter Be Used to Make Non-Bread Items Like Cakes or Cookies?
You can absolutely harness your starter for starter desserts and savory batters beyond bread. Your active culture transforms cakes, cookies, pancakes, and waffles with remarkable tang and moisture. You’ll replace commercial leavening partially or entirely, gaining superior fermentation benefits.
Master the ratios—typically one part starter to two parts flour—and you’ll unleash liberated baking. Your starter’s wild yeast and bacteria deliver complex flavors while reducing refined sugar dependency. Experiment boldly with muffins, brownies, and biscuits.
How Long Does Sourdough Starter Remain Viable After Expiration or Neglect?
Your sourdough starter’s storage lifespan extends surprisingly long—even months of neglect won’t kill it. You’ve got real revival methods available: feed it regularly, and dormant cultures wake up within days.
The hardy microbes don’t abandon you easily. Refrigeration dramatically extends viability.
You’re never truly locked out; even neglected starters return to peak performance with consistent feeding schedules. Take charge of your fermentation freedom—revival’s entirely within your control.


Leave a Comment