Key Takeaways
- Chill dough at least 30 minutes, then dock the entire surface with a fork to prevent puffing and air pockets.
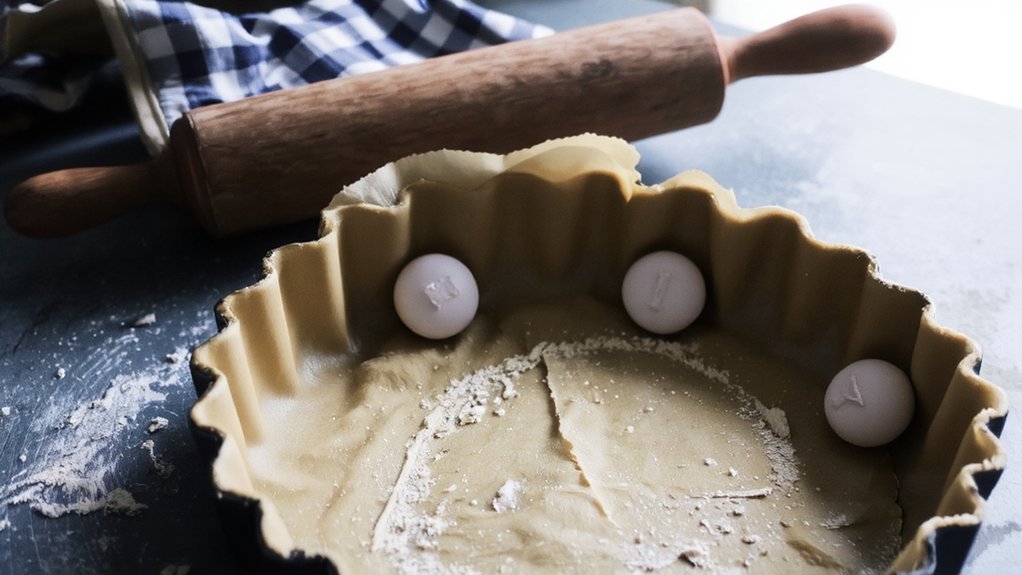
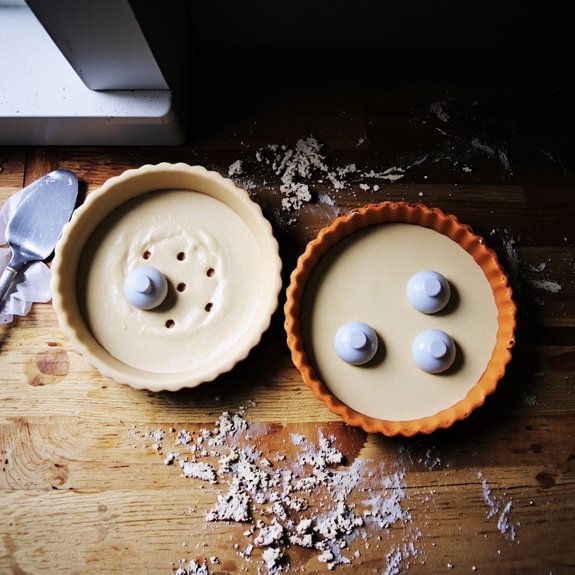
- Line the crust with parchment paper and distribute pie weights evenly across the bottom for uniform browning and support.
- Bake weighted crust at 375°F for 15 minutes, then remove weights and bake 5–10 minutes until set but pale.
- Cool the crust completely at room temperature before filling to prevent condensation that compromises texture and structural integrity.
- Full blind baking requires baking until light golden and dry to touch; partial baking stops at pale and set stage.
What Is Blind Baking and Why It Matters
Because pie fillings vary widely in moisture content and baking time, blind baking—the process of pre-baking a crust partially or fully before adding filling—prevents soggy bottoms and undercooked shells.
You’ll gain complete control over your crust’s doneness without compromise from wet fillings.
Blind baking addresses two critical challenges: moisture control and texture preservation.
When you pre-bake your crust, you’re establishing a moisture barrier that prevents filling liquids from seeping into the pastry.
This technique also guarantees your shell develops proper structure and crispness before filling application.
You’re fundamentally taking command of variables that’d otherwise undermine your pie’s structural integrity.
Whether you’re working with custard, cream, or fruit fillings, blind baking gives you the freedom to achieve professional results consistently.
It’s not optional for custard pies—it’s essential.
Essential Equipment and Tools You’ll Need
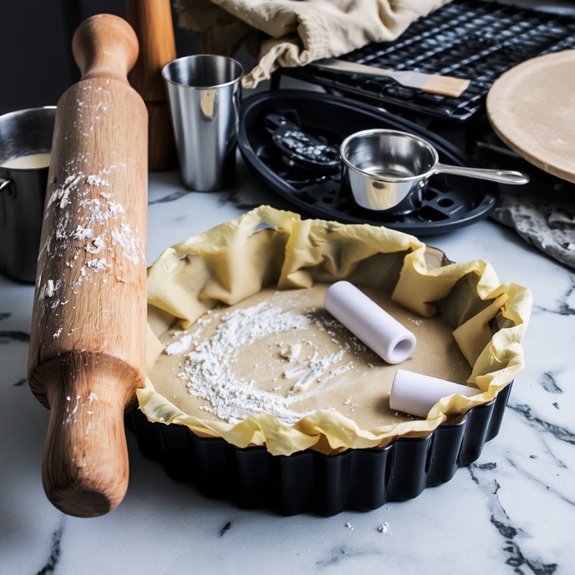
You’ll need a few key tools to blind bake successfully: a pie dish, parchment paper or foil, pie weights or dried beans, and a baking sheet.
Your pie dish selection matters notably because the material and size affect heat distribution and browning during baking.
Choose between ceramic, glass, or metal dishes based on your preference for heat conductivity and visibility.
Essential Equipment and Tools You’ll Need
Gathering the right equipment before you begin guarantees a smoother blind baking process and better results.
You’ll need specialized tools to achieve professional-quality outcomes without complications.
Essential items you should have on hand include:
- Pie weights or dried beans – These prevent the crust from puffing up during initial baking
- Parchment paper – This liner protects your crust and allows easy weight removal
- Pastry blender – This tool cuts cold butter into flour for ideal texture
- Bench scraper – This versatile instrument helps you work dough efficiently and cleanly
Additionally, you’ll want a reliable oven thermometer to guarantee accurate temperature control, a rolling pin for consistent thickness, and a sturdy pie dish. Heavy-duty baking sheets prevent warping.
Don’t underestimate quality equipment—it’s your foundation for mastering blind baking and achieving the structural integrity your pie demands.
Pie Dish Selection Matters
While you’ve gathered your weights and parchment paper, don’t overlook the vessel that’ll hold your crust during blind baking.
Your pie dish choice directly impacts baking results and your freedom to experiment with different techniques.
Material comparison matters considerably.
Glass dishes heat evenly and let you monitor browning from underneath, while ceramic retains heat longer and produces deeper color.
Metal conducts heat fastest but risks over-browning edges.
Each material demands slight temperature or timing adjustments.
Rim profiles also deserve attention.
Sloped rims allow easier crust removal and promote even browning, while straight sides can trap moisture.
Standard 9-inch dishes work best for most recipes, though deeper dishes accommodate lattice work better.
Select your dish based on your desired outcome, then adjust your technique accordingly for ideal results.
Preparing Your Pie Crust for Blind Baking
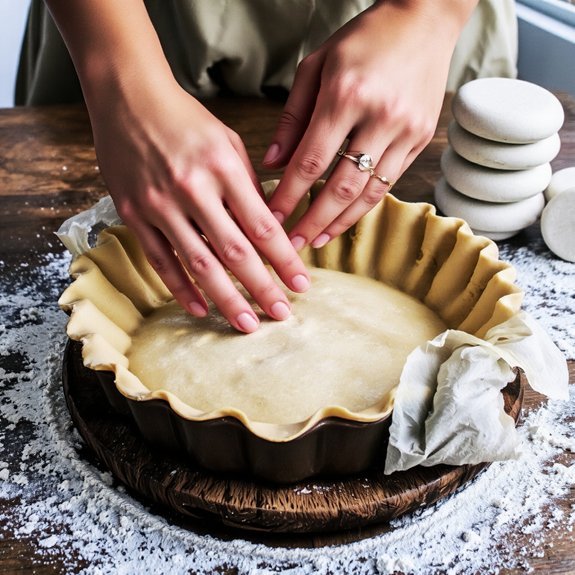
Pricking your pie crust with a fork creates tiny perforations that allow steam to escape during baking, preventing the crust from puffing up unevenly.
You’ll want to dock the entire surface thoroughly, paying particular attention to the bottom and sides.
Before blind baking, you should implement these preparation techniques:
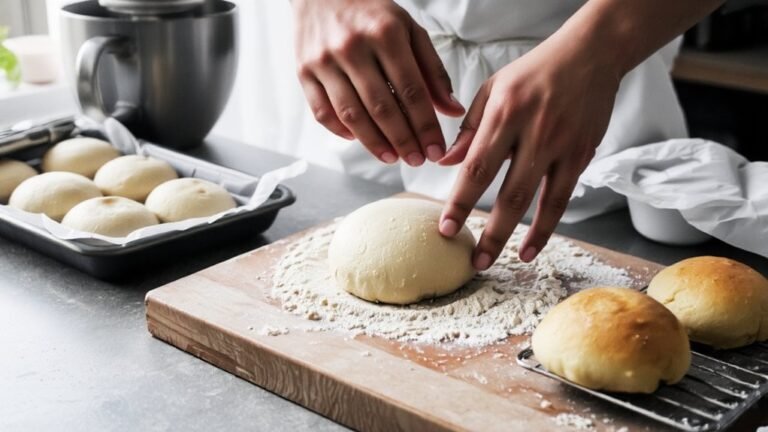
- Chill your dough for at least 30 minutes to relax gluten and maintain structural integrity
- Select appropriate flour with moderate protein content for ideal texture and workability
- Line the crust with parchment paper, leaving adequate overhang for easy removal
- Add pie weights evenly across the bottom to prevent shrinkage and promote uniform browning
These steps guarantee your crust bakes evenly without bubbling or warping, delivering professional results every time.
Choosing Between Partial and Full Blind Baking
You’ll choose partial blind baking when you’re using wet fillings that require additional baking time, as this method pre-sets the crust while allowing it to finish cooking with your filling.
For custard pies and other fillings that don’t need extended baking, you’ll opt for full blind baking to completely cook the crust before filling.
Your time and temperature choices differ between methods: partial baking typically calls for 15-20 minutes at 375-425°F, while full baking requires 25-30 minutes to achieve a golden, fully-set crust.
Partial Baking for Wet Fillings
Because most cream and custard fillings release moisture during baking, partial blind baking—also called “half-baking”—offers an ideal compromise between structural integrity and texture.
You’ll prebake your crust at 375°F for approximately 10-12 minutes until it’s set but still pale.
This method prevents sogginess while maintaining the crisp, structural foundation your filling demands.
Partial baking delivers several advantages:
- Reduces sauce absorption into the crust layer
- Preserves texture contrast between filling and pastry
- Minimizes shrinkage during final baking
- Allows adequate moisture release from wet fillings without creating a soggy bottom
You’re striking the ideal balance here.
The partially baked crust sets enough to resist your filling’s moisture, yet remains flexible enough to finish cooking alongside your custard or cream.
This approach gives you professional results with minimal risk of a compromised texture.
Full Baking for Custard Pies
When your pie demands a fully baked crust before filling—as custard pies do—you’ll extend blind baking to 15-20 minutes at 375°F until the crust’s interior turns light golden and feels dry to the touch. This complete baking prevents sogginess when you pour in your custard filling, which requires a structurally sound foundation.
The extended heat thoroughly evaporates moisture, creating a protective barrier that maintains custard texture without compromising structural integrity. You’ll want to remove the pie weights during the final 2-3 minutes, allowing the bottom to develop color and firmness.
This technique enables ideal flavor infusion—the crust won’t absorb excess liquid, preserving its buttery taste and crisp bite. Complete blind baking demands precision timing; underbaking leaves vulnerability to sogginess.
Time and Temperature Considerations
The decision between partial and full blind baking hinges on your specific pie filling and desired crust texture.
You’ll need to evaluate your oven calibration and make altitude adjustments accordingly for ideal results.
Consider these key factors:
- Partial blind baking (15-20 minutes at 375°F): Use for custard pies where you want the crust to finish baking with the filling
- Full blind baking (25-30 minutes at 375°F): Reserve for cream pies and no-bake fillings requiring a completely set crust
- Oven calibration: Verify your oven’s actual temperature with a reliable thermometer before starting
- Altitude adjustments: Increase baking time by 5-10 minutes at elevations above 3,000 feet
Your choice directly impacts structural integrity and prevents soggy bottoms.
Full baking requires cooling before filling, while partial baking allows simultaneous crust-filling development.
Weights and Liners: The Best Methods

Pie weights and parchment paper work together to prevent your crust from puffing, shrinking, and browning unevenly during blind baking.
Pie weights and parchment paper prevent your crust from puffing, shrinking, and browning unevenly during blind baking.
You’ll want to line your crust with parchment paper first, then distribute weights evenly across the bottom.
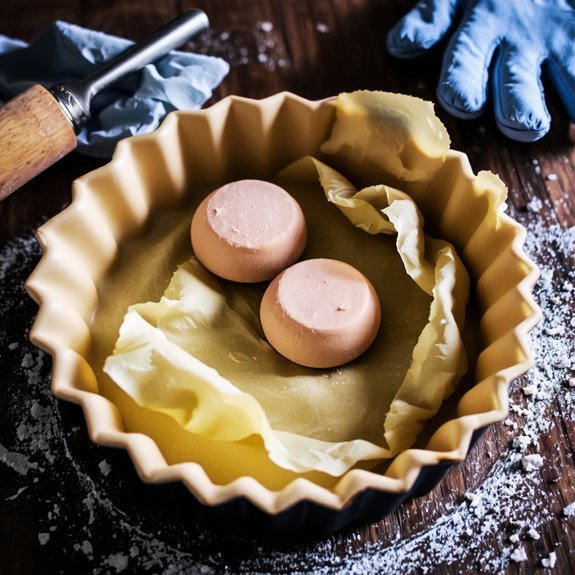
Traditional ceramic or metal weights work reliably, but you’ve got alternatives.
Dried beans, rice, or sugar serve as eco alternatives that you can reuse multiple times.
For those prioritizing sustainability, recycling liners by using reusable silicone sheets eliminates waste entirely.
Fill your lined crust generously—weights should cover the bottom completely without gaps.
Guarantee even distribution to maintain consistent pressure throughout baking.
You’ll achieve superior results by choosing methods that align with your preferences, whether that’s convenience, environmental responsibility, or cost-effectiveness.
Your crust deserves proper support.
Temperature and Timing Guidelines
Once you’ve arranged your weights and lined your crust properly, you’ll need to focus on getting the temperature and timing just right.
Precision here determines your success.
Preheat your oven to 375°F, but verify with oven calibration first—many ovens run hot or cold.
Bake your weighted crust for 15 minutes, then carefully remove weights to check browning.
Continue baking for 5-10 minutes until the bottom’s set but still pale.
Consider these critical factors:
- Altitude adjustments affect baking times; higher elevations require 5-10 minutes extra
- Rotate your pie halfway through for even heat distribution
- Watch for shrinkage along edges; it’s normal but manageable
- Cool slightly before filling to prevent crust cracking
You’re now ready to proceed with confidence.
How to Know When Your Crust Is Done
As you’re monitoring your blind-baking crust, you’ll need to recognize several visual and tactile cues that indicate doneness. The crust’s color shifts from pale to golden brown, signaling proper development. When you lift the parchment, the crust should feel firm and set, not soft or yielding.
| Cue Type | Indicator | Action |
|---|---|---|
| Visual | Golden-brown edges | Continue monitoring |
| Tactile | Firm center when touched | Nearly complete |
| Auditory | Crisp, hollow sound when tapped | Fully set |
| Aroma | Nutty, toasted fragrance | Remove soon |
| Texture | Dry, slightly papery surface | Doneness achieved |
Auditory cues matter too—tap the crust’s bottom; a crisp, hollow sound confirms structural integrity. Aroma indicators shouldn’t be overlooked; a warm, toasted fragrance signals proper Maillard reaction completion. These combined signals guarantee your crust achieves ideal texture and crispness for your filling.
Cooling and Storing Your Pre-Baked Crust
After you’ve confirmed your crust’s doneness through those visual, tactile, and aromatic signals, you’ll need to cool it properly before filling or storing it.
Let your crust cool completely at room temperature—this prevents condensation prevention issues that’ll compromise your filling’s texture.
Let your crust cool completely at room temperature to prevent condensation issues that compromise your filling’s texture.
Once cooled, you’re free to fill it immediately or store it for later use.
For ideal storage results, follow these guidelines:
- Wrap cooled crusts tightly in plastic wrap to shield them from moisture and air exposure
- Store at room temperature for up to two days in an airtight container
- Freeze for extended preservation using portion freezing methods in labeled freezer bags
- Thaw frozen crusts at room temperature for approximately one hour before filling
Proper cooling and storage techniques guarantee your pre-baked crust maintains its structural integrity and desirable crispness throughout your pie-making process.
Common Mistakes to Avoid
Even with careful attention to technique, blind baking presents several pitfalls that’ll undermine your results.
Recipe misreading causes immediate problems—overlooking blind baking duration or temperature specifications ruins your crust.
You’ll sacrifice structural integrity if you skip this critical step entirely.
Cross contamination threatens your success too.
Using the same utensils between filling ingredients and your crust without proper cleaning introduces unwanted flavors and moisture.
Always sanitize equipment thoroughly.
Avoid removing weights prematurely; your crust’ll collapse and bake unevenly.
Don’t skip docking—the small holes prevent air pockets from forming.
Over-browning occurs when you leave your crust unattended; monitor it vigilantly during the final minutes.
Using insufficient pie weights allows the bottom to puff up uncontrollably.
These mistakes demand attention, but mastering them guarantees perfect, crispy crusts every time.
Frequently Asked Questions
Can I Blind Bake a Pie Crust Made From Scratch Without Resting It First?
You can blind bake without resting, though you’ll sacrifice resting benefits that strengthen gluten development.
Skipping rest produces texture differences—your crust’ll be tougher, less flaky, and prone to shrinkage. You’re effectively fighting against the dough’s natural structure.
If you’re determined to skip resting, work quickly, keep everything cold, and accept compromised results.
Your best move? Rest it anyway. You’ll get superior texture and won’t regret the wait.
What’s the Best Way to Prevent a Soggy Bottom Crust in Cream Pies?
You’ll prevent soggy bottoms by establishing a crumb barrier—brush your blind-baked crust with melted chocolate or egg wash before filling.
You’ve got freedom in your filling choice too: incorporate a cornstarch thickener to reduce moisture seepage.
Let your crust cool completely, then add the barrier immediately before pouring cream filling.
This dual approach—moisture control plus physical protection—guarantees you’ll achieve the crisp, structurally sound base you’re after.
Can I Use Dried Beans Instead of Ceramic Pie Weights for Blind Baking?
You can use dried beans instead of ceramic weights, though you’ll need to take into account bean safety and heat distribution carefully.
Beans absorb moisture and conduct heat differently than ceramic, potentially affecting your crust’s texture.
They’re budget-friendly and effective for most situations, but you can’t reuse them for cooking afterward.
Keep temperatures moderate and monitor closely to guarantee even browning without burning.
How Long Can I Store a Blind-Baked Crust Before Filling and Baking It?
You can store your blind-baked crust in the refrigerator for up to two days before filling and baking. For extended refrigerator storage beyond that timeframe, you’ll compromise crust quality.
However, you’ve got greater flexibility with freezer longevity—your crust’ll remain viable for up to three months when properly wrapped in airtight packaging. This approach lets you prepare crusts on your schedule, maintaining complete control over your baking timeline without sacrificing structural integrity or taste.
Will Blind Baking Work the Same for Store-Bought Frozen Pie Crusts?
You’ll find blind baking works with frozen crusts, though you’ll notice texture differences compared to homemade versions. Follow the package’s thawing guidelines precisely—don’t skip this step.
Frozen crusts contain more moisture and stabilizers, which affects browning rates. You may need to reduce baking time slightly and watch carefully for over-browning. The crust’s pre-made structure offers convenience while maintaining your control over the final product’s integrity.


Leave a Comment