Key Takeaways
- Beat room-temperature unsalted butter alone for 2 minutes until pale and fluffy before adding sugar.
- Gradually sprinkle sugar while mixing at medium speed for 3–5 minutes total until mixture doubles in volume.
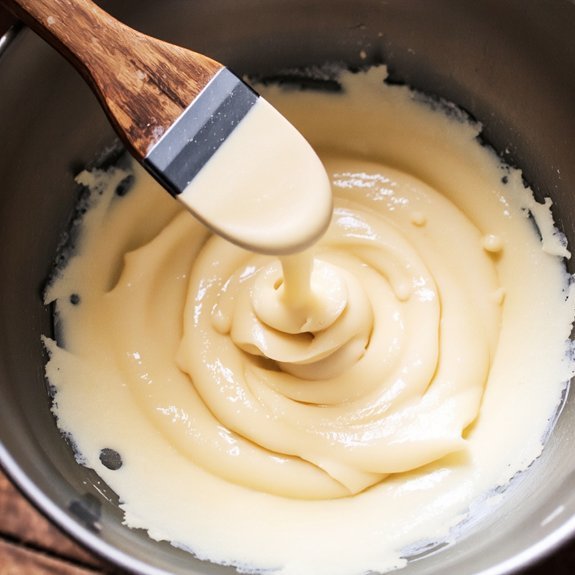
- Properly creamed mixture transforms from dense yellow to pale cream-colored with airy, cloud-like texture and soft peaks.
- Use a stand mixer with paddle attachment and stainless steel bowl for consistent, even temperature and aeration.
- Avoid cold butter, over-mixing, and rushing the process, as these compromise rise, crumb structure, and final texture.
Why Creaming Matters in Baking
When you cream butter and sugar together, you’re incorporating air into the fat, which fundamentally changes your baked goods’ texture and structure.
Creaming butter and sugar incorporates air into fat, fundamentally transforming your baked goods’ texture and structure.
This process creates tiny air pockets that expand during baking, producing a lighter crumb and more tender results.
You’re not merely mixing ingredients—you’re establishing the foundation for proper texture development that defines quality baked goods.
Beyond structure, creaming enables flavor integration by distributing sugar crystals evenly throughout the butter.
This distribution allows sugars to dissolve gradually during baking, enhancing overall taste complexity.
The mechanical action also helps emulsify the mixture, ensuring better incorporation of eggs and other wet ingredients that follow.
Skipping or rushing this step compromises your final product’s rise, crumb structure, and flavor profile.
You’d sacrifice the technical precision that separates exceptional baking from mediocre results.
Creaming demands your attention and time—it’s non-negotiable for freedom from disappointing baked goods.
Choosing the Right Butter and Tools
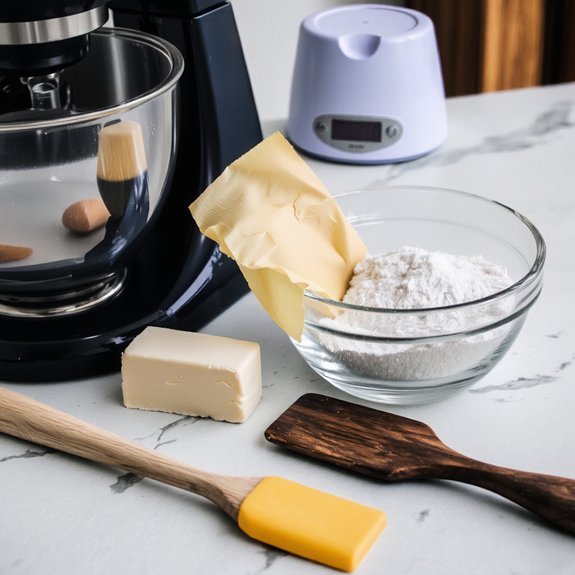
Because creaming’s success depends entirely on your materials and equipment, you’ll want to start with unsalted butter at room temperature—typically 65-70°F—which creams efficiently without introducing variable salt content that’d throw off your recipe’s balance.
Different butter varieties perform differently; European-style butters with higher fat content create denser crumbs, while standard American butter yields lighter textures.
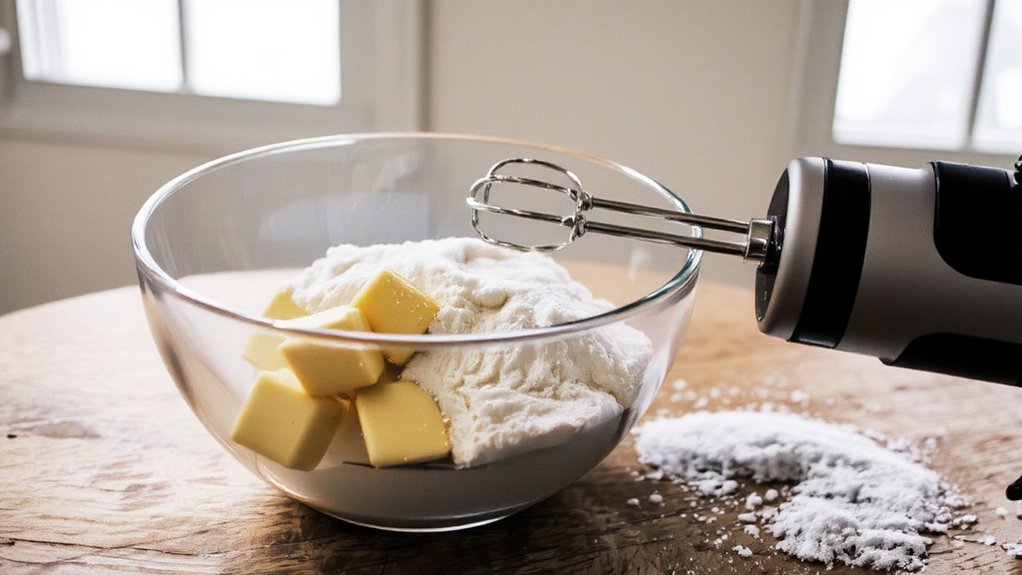
For tool materials, use a stand mixer with a paddle attachment or a handheld electric mixer for consistent results. Stainless steel bowls conduct temperature evenly, preventing butter from becoming too warm.
Avoid plastic bowls, which retain heat and compromise texture. A candy thermometer helps you monitor butter temperature precisely, ensuring you’re always working within that ideal 65-70°F range for maximum incorporation of air and superior volume.
Step-by-Step Creaming Process
Now that you’ve assembled your properly tempered butter and equipment, you’re ready to begin the creaming process itself.
Start your mixer on medium speed, beating the butter alone for approximately two minutes until it’s pale and fluffy.
This initial phase incorporates air, establishing your foundation.
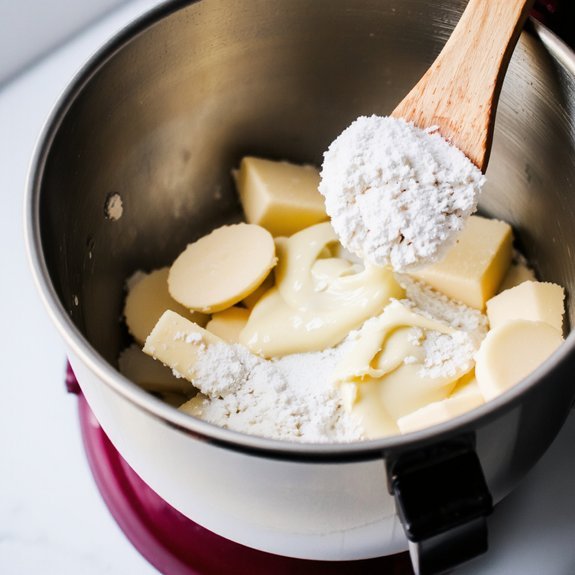
Next, implement sugar addition gradually.
Rather than dumping sugar in all at once, sprinkle it slowly while maintaining your speed progression.
Continue beating for another three to five minutes.
You’ll notice the mixture becoming lighter in color and texture—this transformation indicates proper emulsification.
The butter should resemble fluffy clouds, not dense paste.
This lightness directly affects your final baked good’s structure and crumb.
Don’t rush speed progression; patience here prevents dense, heavy results later.
Signs Your Mixture Is Properly Creamed
You’ll recognize a properly creamed mixture by several distinct visual and tactile indicators that signal successful emulsification.
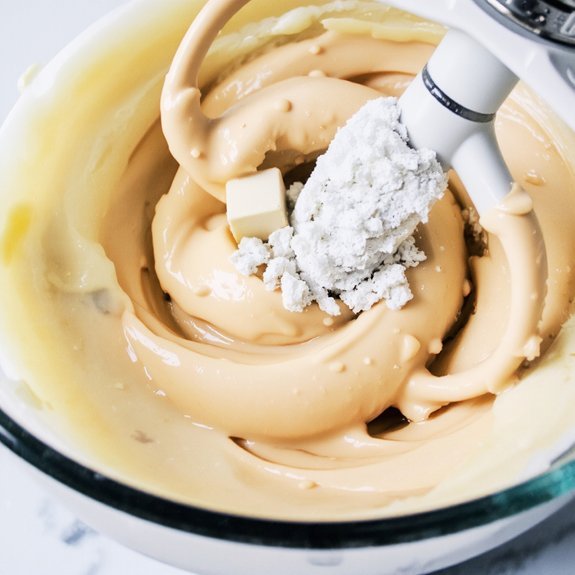
The butter transforms from dense and yellow to a pale color, typically becoming nearly white or cream-colored. You’ll notice the mixture develops an airy texture, increasing substantially in volume—usually doubling or tripling in size. The consistency becomes fluffy and light rather than dense and heavy.
Butter transforms from dense and yellow to pale cream-colored, developing an airy, fluffy texture that doubles or triples in volume.
Run your finger across the bowl’s side. You should feel a smooth, velvety texture without graininess.
Listen to your mixer; you’ll hear a change in sound as air incorporates throughout. The mixture holds soft peaks when you lift the beaters.
These indicators confirm that air bubbles are thoroughly distributed, creating the foundation for proper leavening in your baked goods. Trust these physical signals rather than relying solely on timing.
Common Mistakes to Avoid

Even when you’re aware of what proper creaming looks like, several pitfalls can undermine your results. You’ll sabotage your batter if you don’t measure ingredients with precision. Incorrect measurements throw off your ratios, preventing proper aeration. Temperature matters too—using cold butter won’t incorporate air effectively.
| Mistake | Consequence | Solution |
|---|---|---|
| Cold butter | Poor incorporation | Soften to 65-70°F |
| Over-mixing | Grainy texture | Mix 2-3 minutes max |
| Recipe substitutions | Unpredictable results | Follow exact ratios |
Avoid recipe substitutions without understanding how they’ll affect your mixture’s structure. Don’t rush the process or use inadequate equipment. Your stand mixer must move at medium speed to create tiny air bubbles without overdeveloping gluten. These fundamentals aren’t negotiable—they’re the foundation of reliable, repeatable success.
Frequently Asked Questions
Can I Use Margarine or Oil as a Substitute for Butter When Creaming?
You can substitute margarine, though you’ll notice flavor differences since margarine lacks butter’s rich taste.
Oil won’t work for creaming because it won’t trap air bubbles needed for proper texture.
For health comparison, margarine offers lower saturated fat, but you’re sacrificing the chemical structure required for ideal results.
Choose based on your priorities: authentic flavor demands butter, while margarine provides a functional alternative with trade-offs in taste and texture development.
How Long Can Creamed Butter and Sugar Be Stored Before Baking?
You’ve got flexibility with your creamed mixture’s storage timeline. In refrigeration, you’ll preserve it for up to three days—keep it covered to prevent absorption of odors.
For extended refrigeration lifespan, freeze your creamed butter and sugar up to three months. You’re not locked into baking immediately; thaw it overnight in your fridge before using. Freezer longevity gives you independence to bake whenever you choose without sacrificing quality or texture.
Does Room Temperature Affect How Quickly Butter and Sugar Cream Together?
You’ll find that room temperature dramatically affects creaming speed. Warmer conditions enhance fat plasticity, allowing you to work butter and sugar together faster—typically five to eight minutes instead of ten.
Conversely, cold butter resists incorporation. You’ve also got ambient humidity to take into account; higher moisture content accelerates the process by facilitating sugar dissolution. Control your kitchen temperature between 68-72°F for ideal, consistent results that won’t compromise your batter’s structure or your independence in the kitchen.
What Should I Do if My Creamed Mixture Breaks or Separates?
You’ve got options when your mixture breaks.
Your best re emulsify method: slowly add room-temperature liquid—milk or eggs work well—while beating continuously. This restores the emulsion.
If that fails, you’ve still got salvage options.
Start fresh with new butter and sugar, then gradually incorporate your broken mixture.
Alternatively, use it for applications where separation doesn’t matter—brownies or certain cookie doughs won’t suffer.
Temperature control prevents future breaks.
Can I Cream Butter and Sugar by Hand Without Electric Equipment?
Yes, you can cream butter and sugar by hand. The fork method works well—press softened butter against the bowl’s side, gradually incorporating sugar until light and fluffy. Alternatively, use the whisk method, vigorously beating the mixture in circular motions.
Both techniques demand patience and elbow grease, but they’ll deliver results. You’re not dependent on machines; your own effort liberates you from kitchen gadget constraints while building superior texture through deliberate, methodical action.


Leave a Comment