Key Takeaways
- Measure flour using a digital scale (120g per cup) or the spoon-and-level method to ensure accuracy and consistent results.
- Prepare pans with a thin uniform butter layer and parchment paper for easy cake release after baking.
- Whisk room-temperature eggs 2–3 minutes until frothy, then gradually combine with milk and vanilla before mixing with dry ingredients.
- Fold wet ingredients into dry mixture with a spatula using sweeping motions, avoiding overmixing; batter should resemble thick yogurt.
- Bake at 350°F on center rack for 30–35 minutes until a toothpick emerges clean, then cool on rack for 2 hours.
Gathering Your Ingredients and Equipment
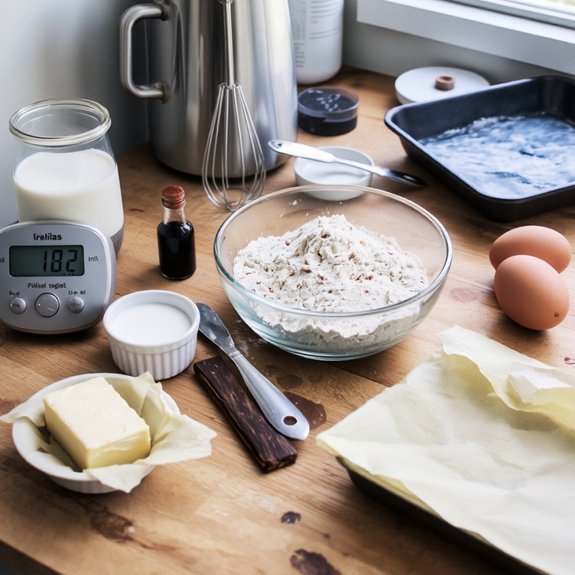
Before you’ll mix your batter, you’ll need to assemble the dry ingredients—2 1/4 cups all-purpose flour, 2 1/2 teaspoons baking powder, and 1/2 teaspoon salt—along with the wet components: 1/2 cup unsalted butter (softened to 65-70°F), 1 cup granulated sugar, 2 large eggs, 1 cup whole milk, and 2 teaspoons vanilla extract.
Assemble 2 1/4 cups flour, 2 1/2 teaspoons baking powder, 1/2 teaspoon salt, softened butter, sugar, eggs, milk, and vanilla extract before mixing.
Proper ingredient storage guarantees peak baking performance.
Store flour in airtight containers away from moisture and heat; maintain butter at consistent temperature before use.
You’ll want your equipment meticulously prepared as well.
Calibrate your scale for precision measurements.
Clean mixing bowls, measuring cups, and your electric mixer with care—tool maintenance directly impacts batter consistency and final texture.
Verify your oven thermometer’s accuracy before preheating.
Having everything organized and ready streamlines your baking process, eliminating delays and reducing errors during mixing.
Preparing Your Baking Pans
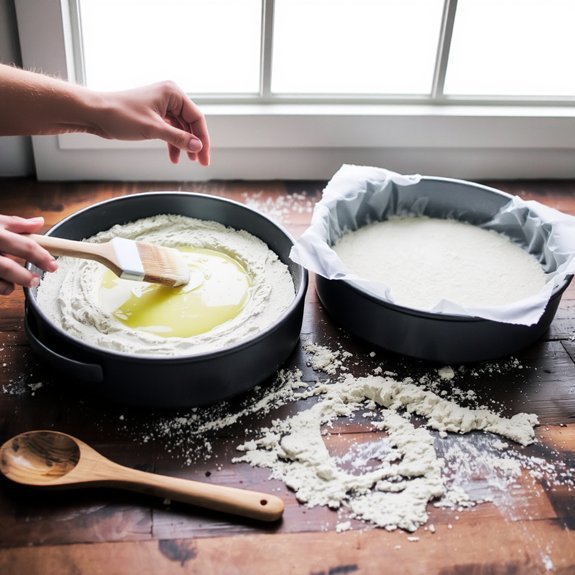
Readying your pans guarantees even heat distribution and prevents sticking throughout the baking process.
You’ll want to select 9-inch round cake pans as your standard vessel for this recipe.
Begin by coating the interior surfaces with softened butter, applying a thin, uniform layer.
Follow this with parchment lining, cutting sheets to fit the pan bottoms precisely.
This dual-barrier method provides effortless cake release post-baking.
For corner trimming on rectangular pans, fold parchment at each corner, creating sharp creases.
Trim excess paper with scissors for a professional fit.
This technique minimizes wrinkling and provides ideal contact between batter and heat source.
Alternatively, employ non-stick cooking spray for expedited preparation.
Dust lightly with all-purpose flour after buttering to create additional release insurance.
Your methodical pan preparation directly determines structural integrity and surface quality of your finished vanilla cake.
Mixing Your Dry Ingredients
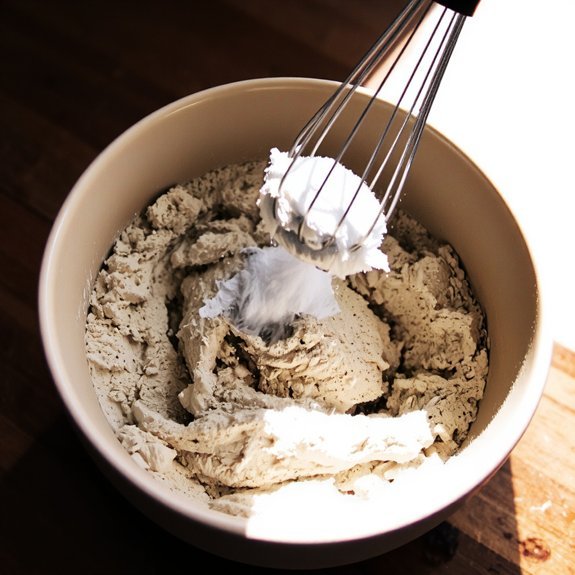
You’ll measure your flour using the spoon-and-level method to guarantee accurate volume—approximately 120 grams or 1 cup per standard cake recipe.
Combine your dry components, including flour, baking powder, baking soda, and salt, in a medium bowl, whisking them together for 30 seconds to distribute leavening agents evenly.
This uniform distribution prevents pockets of unmixed baking powder and guarantees consistent crumb structure throughout your finished cake.
Measuring Flour Accurately
How can you achieve consistent cake structure and crumb?
You’ll need accurate flour measurements, which demand precision.
Use a digital scale calibrated to zero before each measurement—proper scale calibration eliminates guesswork that leads to dense or dry cakes.
Weigh your flour rather than scooping, as the latter introduces 15-20% variation.
The standard ratio is 120 grams per cup, though this varies by flour type and protein content.
Store your flour in airtight containers away from moisture.
Monitor storage humidity levels; flour absorbs water readily, altering hydration ratios and compromising your cake’s texture.
Maintain humidity below 50% in your storage area.
Combining Dry Components
Once you’ve accurately weighed your flour, combining it with your other dry ingredients sets the foundation for an even crumb structure.
In a medium bowl, whisk together your flour, baking powder, baking soda, and salt. This aerating process distributes leavening agents uniformly throughout.
Add anti-caking agents if your ingredients show clumping from humidity effects. Use a dry whisk rather than a fork—whisking incorporates air while preventing compaction.
Work methodically for approximately thirty seconds until the mixture appears homogeneous. Don’t skip this step; proper integration guarantees consistent rise and texture. Store your combined dry mixture in an airtight container if you’re not immediately proceeding to the wet ingredient stage. This approach maintains ingredient stability and prevents moisture absorption.
Combining Your Wet Ingredients
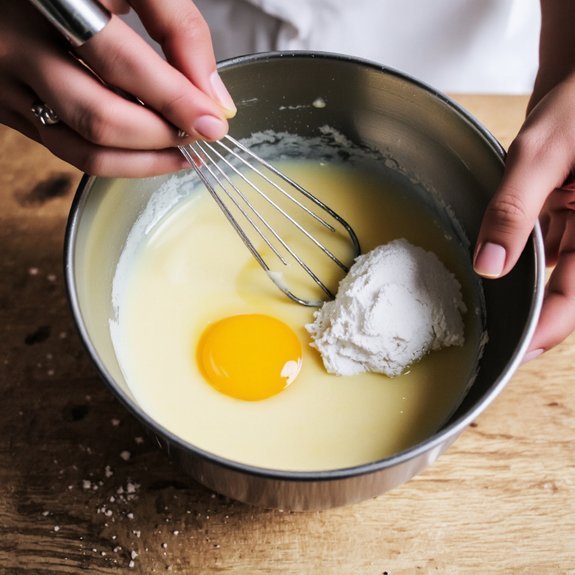
To achieve proper emulsification and ideal cake structure, combine your eggs, milk, and vanilla extract in a separate bowl before introducing them to the dry mixture.
This technique guarantees uniform fat distribution throughout your batter.
Implement these emulsification techniques for best results:
- Whisk eggs at room temperature for 2-3 minutes until slightly frothy
- Add milk gradually while whisking continuously to prevent separation
- Incorporate vanilla extract slowly, maintaining constant agitation
- Achieve sugar dissolution by allowing the mixture to rest 1 minute before combining with dry ingredients
Your wet component should reach approximately 85-90°F before mixing.
This temperature range facilitates proper emulsification while preventing premature gluten development.
The resulting batter demands immediate transfer to your prepared pan—delay risks compromised crumb structure and density irregularities that’ll compromise your final product’s quality.
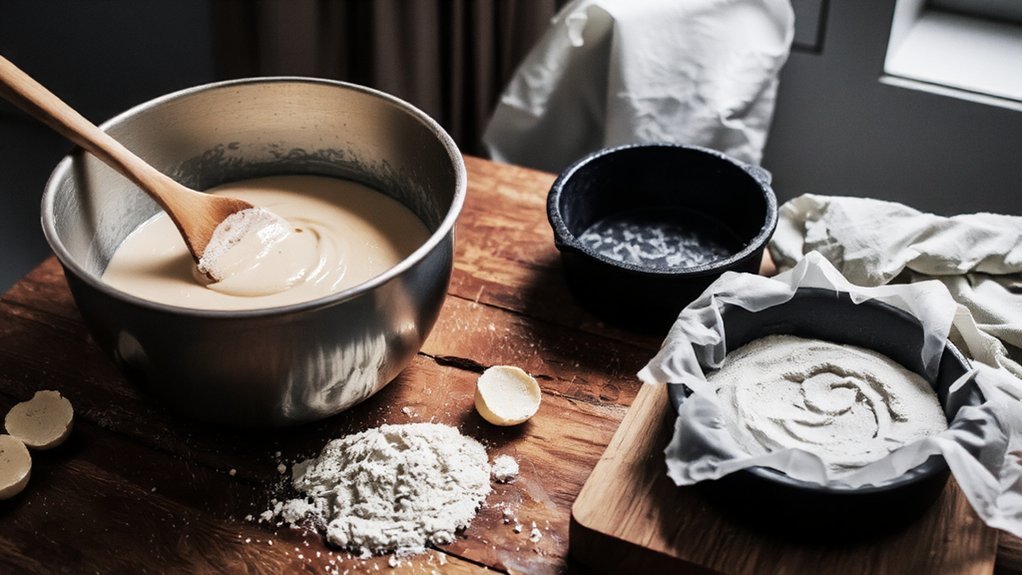
Creating the Perfect Batter
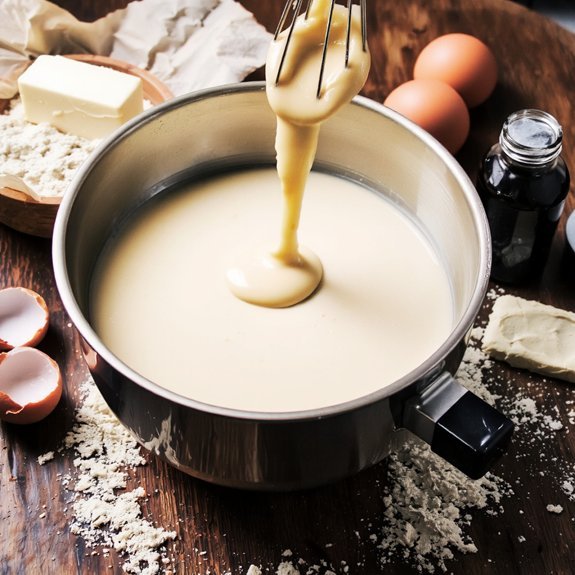
With your wet ingredients properly emulsified and at ideal temperature, you’re ready to fold them into your dry mixture.
Use a spatula to combine both components with deliberate, sweeping motions—avoid overmixing, which develops gluten and yields a dense crumb structure.
Monitor visual cues carefully: the batter should appear uniform yet retain slight streaks of dry ingredients.
Establish consistency checkpoints by observing how the batter falls from your spatula. It should flow smoothly without appearing thin or soupy.
The ideal consistency resembles thick yogurt. This technical precision guarantees prime cake structure and moisture retention.
Incorporate your dry ingredients in two additions if desired, folding thoroughly between each addition. This method grants you greater control over final texture.
Your batter’s readiness directly determines your cake’s success—don’t rush this critical stage.
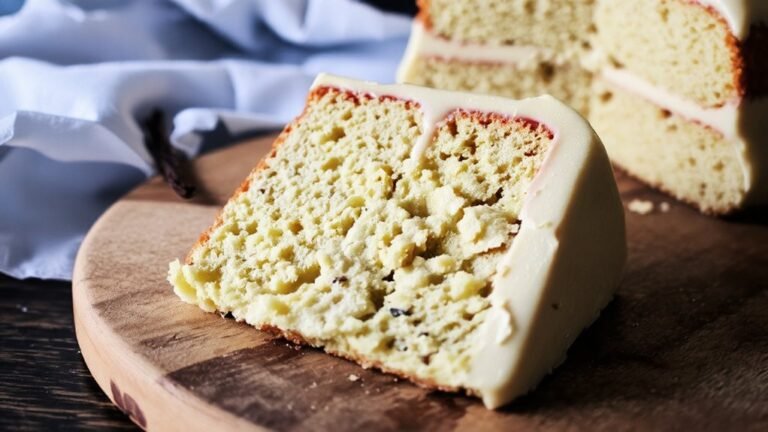
Baking and Cooling Your Cake
Your properly prepared batter now moves directly into the oven, where heat transforms it into a finished cake.
Maintain an oven temperature of 350°F for ideal results.
Follow these critical steps:
- Position your pan on the center rack for even heat distribution
- Bake for 30-35 minutes until a toothpick inserted in the center emerges clean
- Monitor internal crumb structure; don’t rely solely on external browning
- Remove when the cake pulls slightly from pan edges
Once baked, immediately transfer your cake to a cooling rack. This prevents moisture accumulation and guarantees proper structural set. Allow complete cooling—approximately 2 hours—before frosting or serving. Proper cooling prevents frosting breakdown and maintains your cake’s structural integrity throughout storage and consumption.
Frequently Asked Questions
Can I Substitute All-Purpose Flour With Cake Flour, and Does It Affect the Result?
You can substitute cake flour for all-purpose flour, but you’ll notice significant differences.
Cake flour’s lower protein content—around 7-9% versus all-purpose’s 10-12%—reduces gluten development, yielding a more tender, delicate crumb.
You’ll need to adjust your ingredient ratios slightly, using approximately 1 cup plus 2 tablespoons cake flour per cup all-purpose flour. This modification produces a lighter, more refined texture that some bakers prefer, though it requires precision in measurement to maintain structural integrity.
How Do I Know if My Cake Is Fully Baked Without Overbaking It?
You’ll achieve ideal doneness by employing the toothpick test—insert it into the cake’s center; it should emerge with minimal crumbs, not batter. Alternatively, deploy a cake thermometer to verify internal temperature reaches 205-210°F. You’re free to choose your methodology.
These techniques prevent the dry, crumbly texture that overbaking produces while ensuring structural integrity. Monitor timing religiously; remove your cake immediately upon reaching target specifications for superior moisture retention and texture quality.
Why Did My Vanilla Cake Turn Out Dry, and How Do I Prevent It?
Your vanilla cake’s dryness stems from overmixing batter, which develops excessive gluten, or inaccurate oven calibration causing prolonged heat exposure.
You’ll prevent this by folding ingredients gently until just combined and verifying your oven’s actual temperature with a calibrated thermometer.
Maintain precise 1:1:1 ratios of butter, sugar, and eggs.
Monitor baking time vigilantly—you control the outcome through technical accuracy and ingredient discipline.
Can I Make Vanilla Cake Without Eggs, and What Are Good Substitutes?
You can absolutely make egg-free vanilla cake.
Flaxseed eggs work exceptionally well—combine one tablespoon ground flaxseed with three tablespoons water per egg, letting it sit five minutes.
Alternatively, you’ll find applesauce swap substitutes one egg with one-quarter cup unsweetened applesauce, maintaining structural integrity and moisture retention.
Both methods yield comparable crumb structure and density.
Adjust your liquid ratios accordingly, reducing other wet ingredients by approximately two tablespoons per substitution to prevent excess moisture degradation.
How Far in Advance Can I Bake the Cake Before Serving Guests?
You can bake your vanilla cake up to three days ahead without compromising structural integrity.
For best results, you’ll want to implement freezer storage, which extends viability to two weeks when properly wrapped.
Execute your day of assembly strategy by thawing the cake at room temperature for two hours before frosting application. This methodology preserves crumb density and moisture retention while maximizing your scheduling autonomy for entertaining guests.


Leave a Comment