Key Takeaways
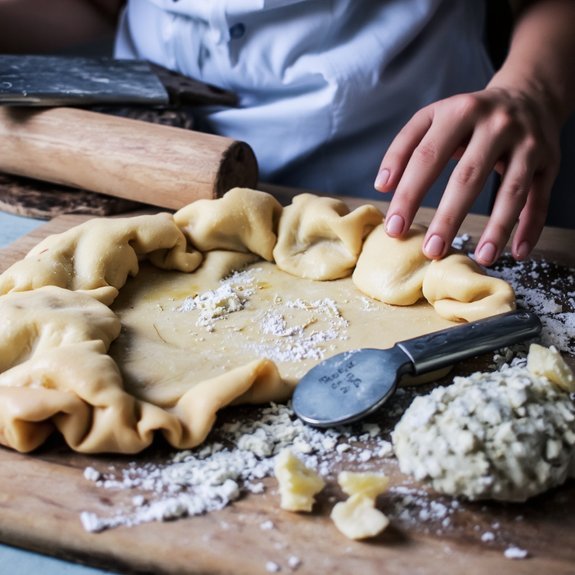
- Cut cold butter into flour until it resembles coarse breadcrumbs to create flaky layers during baking.
- Use ice water and minimal mixing to prevent gluten development, which would make the crust tough.
- Keep all ingredients and tools cold throughout the process to preserve fat separation and layer formation.
- Chill the assembled pie at least 30 minutes before baking to prevent shrinkage and ensure flakiness.
- Steam expansion during baking lifts the fat-flour layers apart, creating the desired flaky texture and structure.
Ingredients You’ll Need

You’ll need all-purpose flour, cold unsalted butter, salt, ice water, and optionally a touch of sugar to create a flaky, tender pie crust.
Your flour varieties matter—all-purpose works reliably, though you can experiment with cake flour for tenderness or bread flour for structure.
Butter selection is critical; choose unsalted butter so you’ll control the salt content precisely. Keep your butter cold, even freezing it for thirty minutes before use.
You’ll want ice water to prevent gluten overdevelopment, which toughens your crust.
Salt enhances flavor without overpowering. Sugar, if you’re using it, adds subtle sweetness and aids browning.
Measure your ingredients accurately—flour by weight yields superior results. These components, combined correctly, give you complete control over your crust’s texture and flavor profile.
The Science Behind Flaky Crusts
When you combine flour, fat, and water, you’re engineering a delicate structure that relies on precise physics and chemistry.
The fat creates distinct barriers within your dough, preventing the gluten network from becoming too tight and elastic.
During baking, you’re liberating moisture through steam formation, which separates flour layers and generates those coveted flaky sheets.
Temperature control matters critically.
Cold fat remains solid longer, maintaining separation between dough layers.
As heat penetrates, the fat melts gradually while steam expands upward, lifting each layer independently.
If your fat warms too quickly, you’ll lose these pockets, resulting in a dense, tough crust.
Understanding this interplay gives you complete control.
You’re not following arbitrary steps—you’re manipulating moisture, fat distribution, and gluten development to achieve the precise texture you want.
Master these principles, and you’ll consistently produce exceptional crusts.
Step-by-Step Instructions
Now that you understand the physics governing crust structure, you’re ready to put that knowledge into practice.
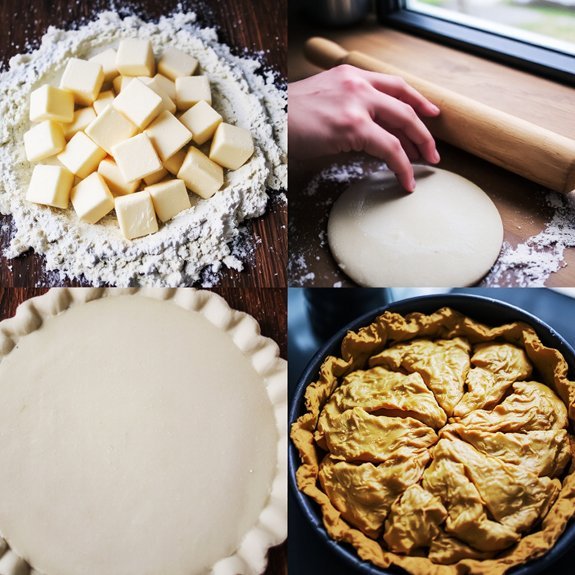
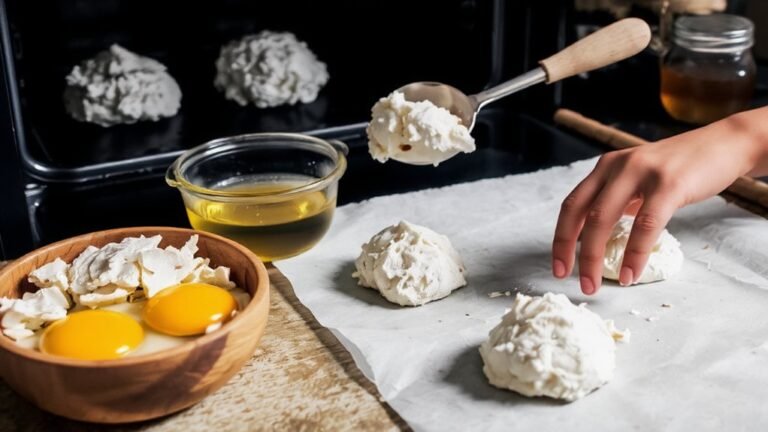
Start by assembling your Tool Sequence: pastry cutter, mixing bowl, and rolling pin.
Cut cold butter into flour using quick, decisive motions—this creates the essential fat pockets.
Mix until the texture resembles coarse breadcrumbs.
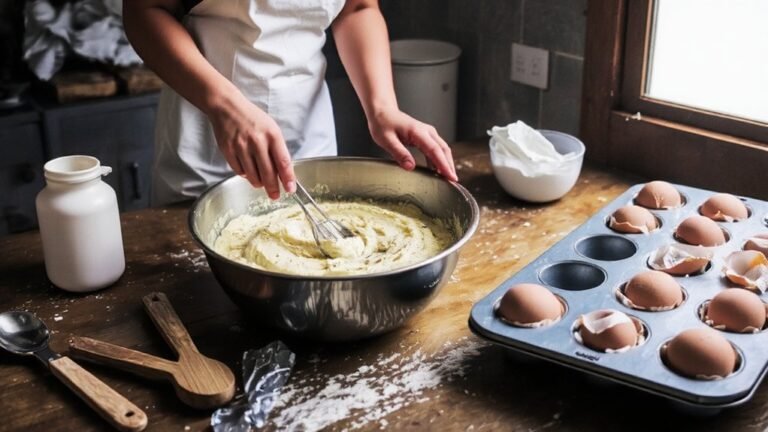
Add ice water gradually, stirring minimally to avoid gluten development.
Form a disk, wrap it, and refrigerate for thirty minutes.
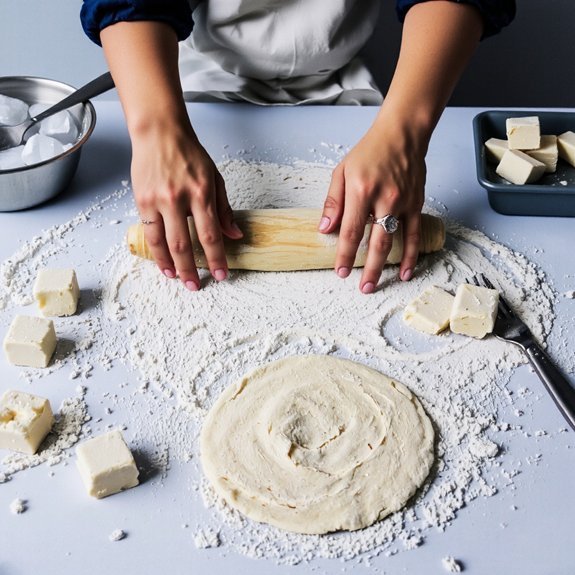
When chilling completes, flour your surface generously.
Roll the dough outward from center, maintaining even thickness.
Reference Technique Photos throughout this process to confirm proper consistency and shape.
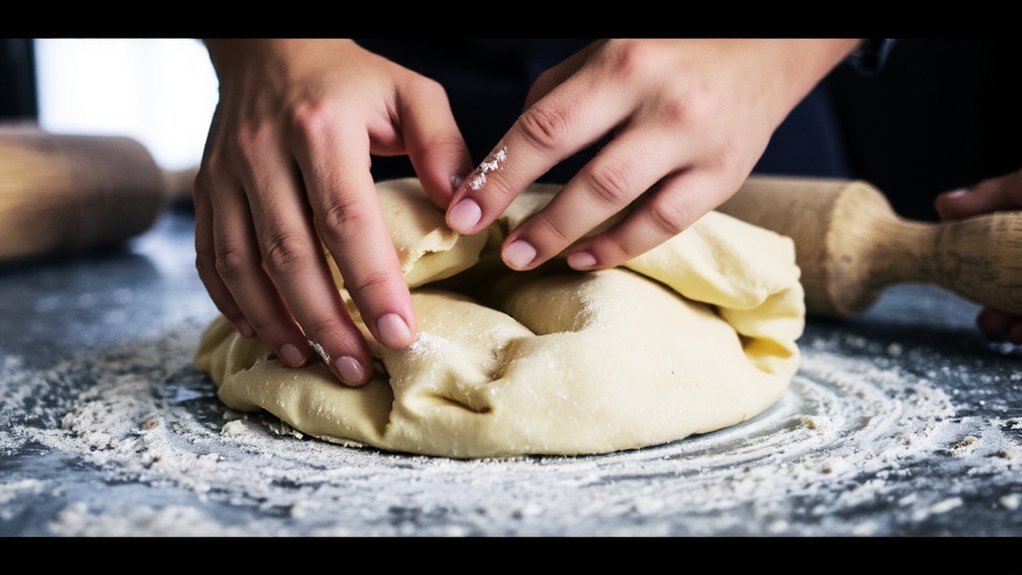
Transfer to your pie dish carefully, preserving those precious butter layers.
Trim excess dough, crimp edges, and chill again before baking.
This disciplined approach guarantees the flaky, tender crust you’ve earned.
Tips for Success
Temperature control consistently determines whether your crust achieves ideal flakiness or becomes tough and dense.
You’ll want to keep your butter and water ice-cold throughout the process—this prevents premature melting and guarantees distinct layers develop during baking.
Don’t overwork your dough.
Mix until ingredients just combine; overhandling activates gluten, making your crust rubbery.
You’re aiming for a shaggy texture with visible butter pieces.
For presentation tips, brush your finished crust with egg wash for a golden, professional appearance.
Chill your assembled pie for at least thirty minutes before baking—this relaxes the dough and prevents shrinkage.
Your cleanup routine becomes easier when you work quickly and keep surfaces cold.
Wipe down your work area immediately after finishing, preventing dough from sticking and hardening.
Storage and Make-Ahead Options
Since you’ve invested time perfecting your pie dough, you’ll want to maximize its shelf life through proper storage techniques. Freezing techniques preserve your dough for up to three months, granting you flexibility in your baking schedule. Wrap your dough tightly in plastic wrap, then aluminum foil to prevent freezer burn and maintain quality.
| Storage Method | Duration | Temperature |
|---|---|---|
| Refrigerator | 2-3 days | 35-40°F |
| Freezer | 3 months | 0°F or below |
| Thawing Timeline | 4-6 hours | Refrigerator |
Your thawing timeline matters critically. Transfer frozen dough to your refrigerator four to six hours before rolling. This gradual thawing prevents condensation and maintains structural integrity, ensuring your crust remains flaky and superior when you bake.
Frequently Asked Questions
Can I Use Butter Instead of Shortening for a Flakier Crust?
You’ll achieve flakiness with cold butter, though you’ll need to adjust your fat ratio.
Butter contains about 80% fat versus shortening’s 100%, so increase butter by roughly 25% to compensate.
Cut it into pea-sized pieces and keep everything frigid throughout your process.
The water in butter creates steam layers that develop those desirable flakes you’re after.
Work quickly and avoid overworking the dough.
You’ll get superior flavor and excellent texture.
Why Does My Pie Crust Shrink During Baking?
Your pie crust shrinks because you’ve likely overworked the gluten, which creates excessive elasticity that contracts during baking.
You’re also missing insufficient venting—don’t skip those fork pricks.
Here’s your freedom: dock that dough liberally before baking.
Chill your crust thoroughly beforehand, allowing the gluten to relax completely.
These technical steps prevent the dough from snapping back, ensuring you’ll achieve the dimensional results you’re after.
How Do I Repair Cracks or Holes in My Crust?
You’ll fix cracks and holes through strategic dough patching and crust sealing. Cut small patches from leftover dough, slightly larger than the damaged areas.
Brush the crack edges with water, press patches firmly into place, and seal seams thoroughly by pinching them together. For minor holes, you can apply a simple egg wash over the patch, which bonds it securely. This method restores structural integrity before filling.
What’s the Difference Between Pie Crust and Puff Pastry?
You’ll notice puff pastry‘s distinct layer structure creates dramatic height through lamination—folding butter repeatedly into dough.
Your pie crust won’t rise as dramatically; it’s simpler, requiring just cold butter cut into flour. The texture contrast differs too: puff pastry delivers crispy, shattered layers that shatter freely, while pie crust offers tender, crumbly results. Choose puff pastry when you want architectural drama; pick pie crust for straightforward, forgiving applications.
Can I Freeze Unbaked Pie Crust for Later Use?
You can absolutely freeze unbaked pie crust for long term storage. Wrap your dough tightly in plastic wrap, then place it in freezer packaging—either a freezer bag or airtight container—to prevent freezer burn.
You’re free to store it for up to three months. When you’re ready to use it, don’t thaw it; roll it directly from frozen or let it sit briefly at room temperature for easier handling.
This approach gives you maximum flexibility.


Leave a Comment