
Key Takeaways
- Combine pumpkin purée, eggs, evaporated milk, sugar, and warm spices (cinnamon, ginger, cloves) in a mixing bowl.
- Pre-bake crust at 425°F for 15 minutes, then reduce to 350°F and bake 40–50 minutes until edges set.
- Pie is done when a knife inserted near the edge comes out clean with slight center jiggle remaining.
- Cool completely at room temperature, then refrigerate at least 4 hours before serving for best flavor and texture.
- Store leftovers refrigerated up to 4 days or freeze up to 3 months wrapped in plastic and foil.
Ingredients You’ll Need
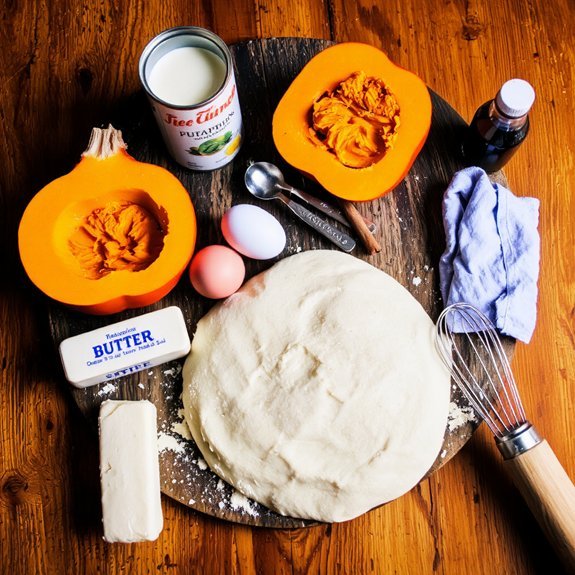
Before you start assembling your pumpkin pie, gather these essentials: one 15-ounce can of pumpkin puree, three-quarters cup of granulated sugar, one teaspoon of ground cinnamon, half a teaspoon of ground ginger, quarter teaspoon of ground cloves, half a teaspoon of salt, two large eggs, and one 12-ounce can of evaporated milk.
Gather one can of pumpkin puree, sugar, warm spices, salt, eggs, and evaporated milk for your pie.
You’ll also need one unbaked 9-inch pie crust.
Consider sourcing organic options for spices to maximize flavor intensity and purity.
For seasonal sourcing, you can purchase fresh pumpkins during autumn months, though canned puree offers consistent results year-round.
You’ll want a mixing bowl, whisk, and measuring cups for precision.
Your freedom to customize begins here—adjust spice ratios according to your taste preferences.
Make sure all ingredients reach room temperature before combining for ideal texture and integration.
Preparing Your Pie Crust
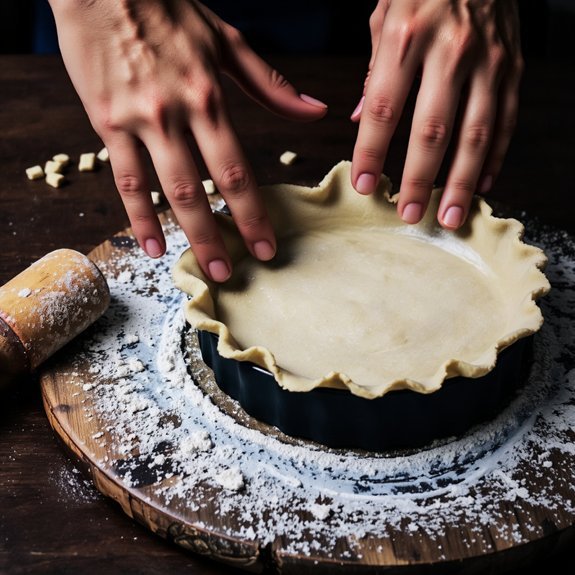
Getting your pie crust ready sets the foundation for a successful bake.
You’ve got two solid options: use store-bought dough for convenience or prepare your own from scratch.
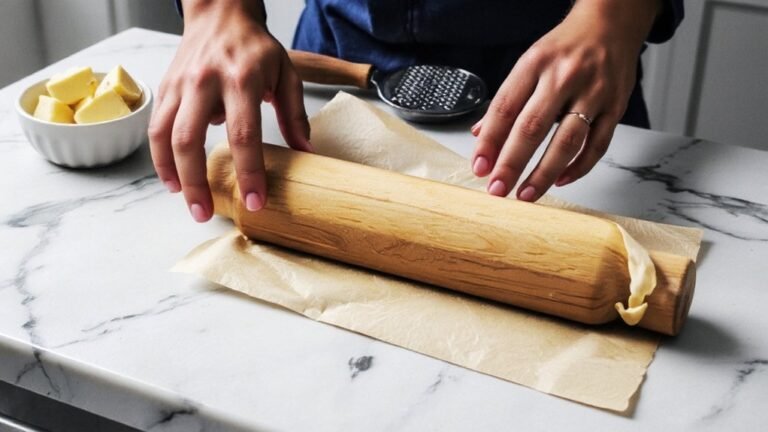
- Thaw and position: If you’re using frozen crust, let it thaw completely at room temperature for about 30 minutes
- Dough resting: Allow your homemade dough to rest in the refrigerator for at least 30 minutes before unrolling—this prevents shrinkage during baking
- Edge crimping: Crimp the edges with your fingers or a fork, creating a decorative seal that locks in moisture and prevents leaking
Once you’ve finished edge crimping, poke small holes across the bottom with a fork.
This prevents air pockets from forming.
Your crust is now ready for the filling.
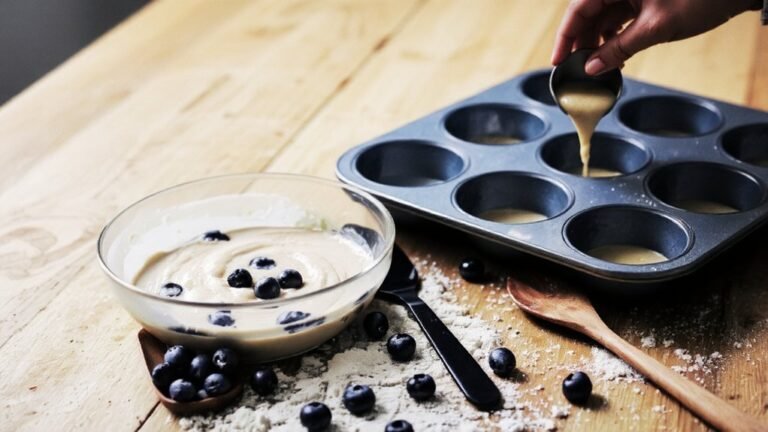
Making the Pumpkin Filling

Combining your filling ingredients requires careful attention to ratios and mixing technique to achieve the perfect custard-like consistency. You’ll whisk together eggs, evaporated milk, and pumpkin purée with your spice blend using an emulsification technique that incorporates air while preventing overmixing.
| Ingredient | Measurement |
|---|---|
| Pumpkin purée | 15 oz |
| Evaporated milk | 12 oz |
| Eggs | 2 large |
| Brown sugar | ¾ cup |
Start with your purée consistency—smooth and lump-free. Whisk eggs separately, then combine with milk before folding into the pumpkin base. Add sugar and spices gradually, maintaining steady whisking to create an emulsified, uniform texture. Pour through a fine strainer if needed. Your filling should flow smoothly into the crust without lumps, ensuring even cooking and that signature creamy texture you’re after.
Baking Instructions

Pour your prepared filling into the unbaked crust and transfer the pie to a preheated 425°F oven for the initial 15-minute high-heat phase, which sets the custard’s outer layer and prevents a soggy bottom.
After this critical stage, reduce your baking temperature to 350°F and continue baking for 40-50 minutes.
Monitor these key indicators:
- The filling should jiggle slightly at the center when you gently shake the pie
- Edges will appear set while the middle retains a subtle wobble
- Your rack placement should position the pie in the lower-middle section for even heat distribution
You’ll know you’re done when a knife inserted near the edge comes out clean.
Remove your pie immediately and let it cool completely at room temperature before refrigerating for at least four hours.
Tips for Success

Now that you’ve mastered the baking technique, a few strategic adjustments will elevate your results and prevent common pitfalls. Use fresh pumpkin puree rather than canned when possible—it delivers superior moisture control and flavor intensity.
Don’t overbake; your pie’s center should jiggle slightly when you remove it from the oven. This residual heat completes the cooking process while maintaining a creamy texture.
For serving suggestions, serve your pie chilled or at room temperature with whipped cream or vanilla ice cream. Regarding storage methods, refrigerate leftovers in an airtight container for up to four days.
You can also freeze your cooled pie for three months—wrap it tightly in plastic wrap and foil. Thaw overnight in your refrigerator before serving.
Frequently Asked Questions
Can I Make Pumpkin Pie Filling Ahead of Time and Refrigerate It Overnight?
You can refrigerate pumpkin pie filling overnight, but monitor texture changes carefully. Store it in an airtight container at 40°F or below for food safety tips compliance.
The filling’s consistency may thicken slightly as starches absorb moisture. Stir thoroughly before using to reincorporate separated liquid.
This method saves you preparation time while maintaining ingredient integrity and flavor. Just make sure your container prevents contamination and keeps the filling properly chilled throughout storage.
How Do I Know if My Pumpkin Pie Is Fresh or if It’s Gone Bad?
You’ll know your pumpkin pie’s freshness through a smell test first—fresh pie smells warm and spiced, while off pies develop sour or fermented odors.
Visually inspect for mold, dark spots, or weeping filling.
Trust your instincts; if something seems off, don’t risk it.
Properly stored pie lasts 3-4 days refrigerated.
You’ve got the freedom to discard questionable pies without guilt.
What’s the Difference Between Pumpkin Puree and Pumpkin Pie Filling?
You’ll find that pumpkin puree contains only cooked, mashed pumpkin, while pumpkin pie filling‘s ingredient composition includes added spices, sugar, and thickeners.
By reading labels carefully, you’ll notice pie filling arrives pre-seasoned and ready to use. Puree demands you control your own spice ratios and sweetness levels.
This distinction matters: you’re choosing between convenience or customization. Label reading reveals whether you’re getting pure pumpkin or a pre-mixed product, giving you freedom over your pie’s final flavor profile.
Can I Freeze a Baked Pumpkin Pie, and How Long Does It Last?
You can absolutely freeze your baked pumpkin pie for up to three months.
Wrap it tightly in airtight wrapping—plastic wrap followed by aluminum foil works best—to prevent freezer burn and flavor degradation.
When you’re ready to enjoy it, thaw it overnight in your refrigerator rather than at room temperature.
This gradual thawing method preserves the custard’s texture and prevents bacterial growth, keeping your pie’s structural integrity intact.
Why Did My Pumpkin Pie Crack on Top, and How Do I Prevent It?
Your pie’s top cracked because you’ve likely overbaked it or your filling consistency was too thick.
Prevent cracking by monitoring your oven temperature—don’t exceed 350°F—and removing your pie when the center’s still slightly jiggly, about 50-60 minutes.
Use a smooth pumpkin purée without excess moisture.
Lower your oven rack position.
You’re in control; these adjustments give you the flawless pie you deserve.


Leave a Comment