Key Takeaways
- Mix flour, baking soda, salt, and buttermilk into a shaggy dough; shape into a round loaf with a deep cross.
- Bake at 450°F for 15 minutes, then reduce to 375°F and continue for 30–35 minutes until the bottom sounds hollow.
- Cool completely before slicing to prevent gumminess and achieve clean cuts with better presentation of the bread’s rustic crumb.
- Store cooled bread at room temperature wrapped in parchment paper for up to three days in a breadbox or ceramic container.
- Freeze whole loaves or slices tightly wrapped for up to three months; thaw at room temperature or refresh in a warm oven.
History and Origins of Irish Soda Bread

When you bite into a slice of Irish soda bread, you’re tasting centuries of resourcefulness and necessity.
You’re experiencing a product born from Ireland’s challenging agricultural landscape, where wheat didn’t flourish but soft wheat and baking soda did.
Irish immigrants carried this humble bread across migration patterns to America, bringing their culinary heritage with them.
This bread holds cultural symbolism far beyond its simple ingredients.
You’ll find it represents Irish resilience, independence, and the freedom to adapt when circumstances demanded it.
The quick bread required no yeast, no lengthy fermentation—just readily available materials transformed into sustenance.
You’re honoring generations who relied on this staple during hardship, who refused to be confined by limitations, and who turned constraint into culinary tradition.
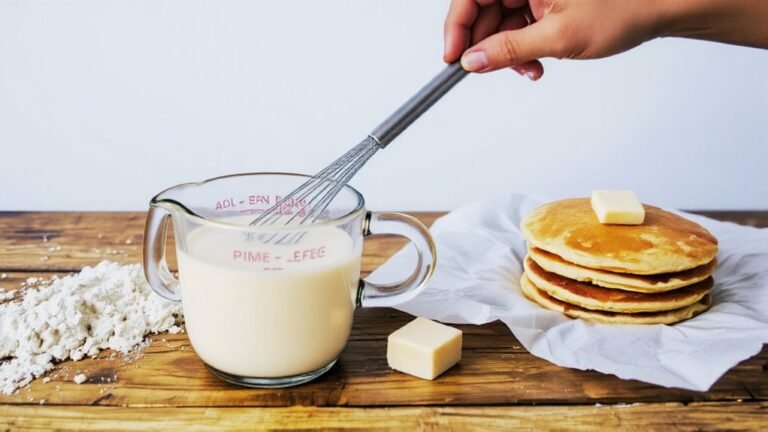
Essential Ingredients You’ll Need
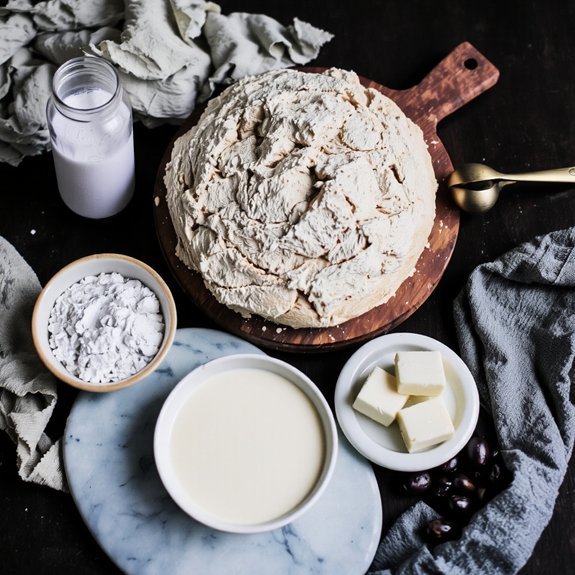
Just four simple ingredients—all-purpose flour, baking soda, salt, and buttermilk—are all you’ll need to create authentic Irish soda bread. You’ll discover that this minimalist approach celebrates ingredient quality over complexity.
Choose ethically sourced flour from local suppliers who prioritize sustainable farming practices. This choice supports your community while ensuring superior taste and nutritional value.
Your buttermilk should be fresh and tangy, providing the acidic element that activates the baking soda’s leavening properties. Quality salt enhances flavor without overpowering delicate notes.
When you source these ingredients thoughtfully, you’re not just baking bread—you’re making a statement about supporting local economies and transparent food systems. This straightforward recipe respects both tradition and your commitment to conscious consumption.
Step-by-Step Baking Instructions
Since you’ve gathered your quality ingredients, it’s time to transform them into a rustic loaf that’ll fill your kitchen with warmth and tradition.
Preheat your oven to 450°F.
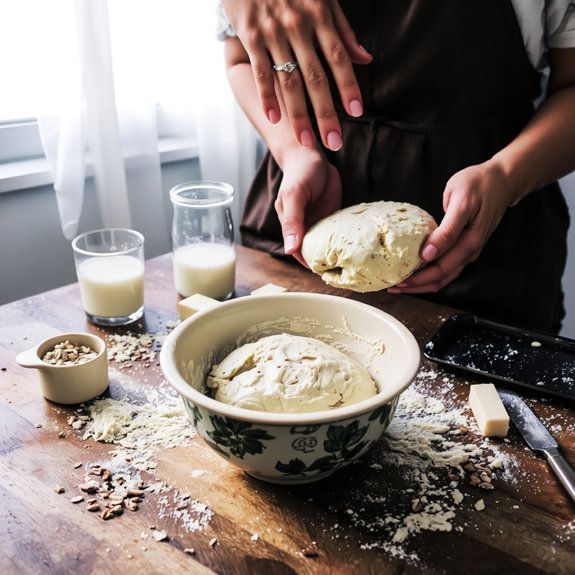
Mix your dry ingredients in a large bowl, then create a well and pour in the buttermilk.
Stir until shaggy dough forms—don’t overwork it.
Shape the dough into a round loaf on a floured surface.
Cut a deep cross into the top; this isn’t decorative, it’s functional, allowing heat to penetrate the center.
Place your loaf on a baking sheet.
Watch for visual cues: the crust should turn golden-brown.
At your first timing checkpoint, around 15 minutes, reduce heat to 375°F.
Continue baking for 30-35 minutes until the bottom sounds hollow when tapped.
Your Irish soda bread’s ready when it achieves that perfect deep-golden exterior.
Tips for the Perfect Crumb and Crust

After your loaf emerges from the oven’s heat, you’ll want to master the techniques that distinguish a mediocre soda bread from an exceptional one.
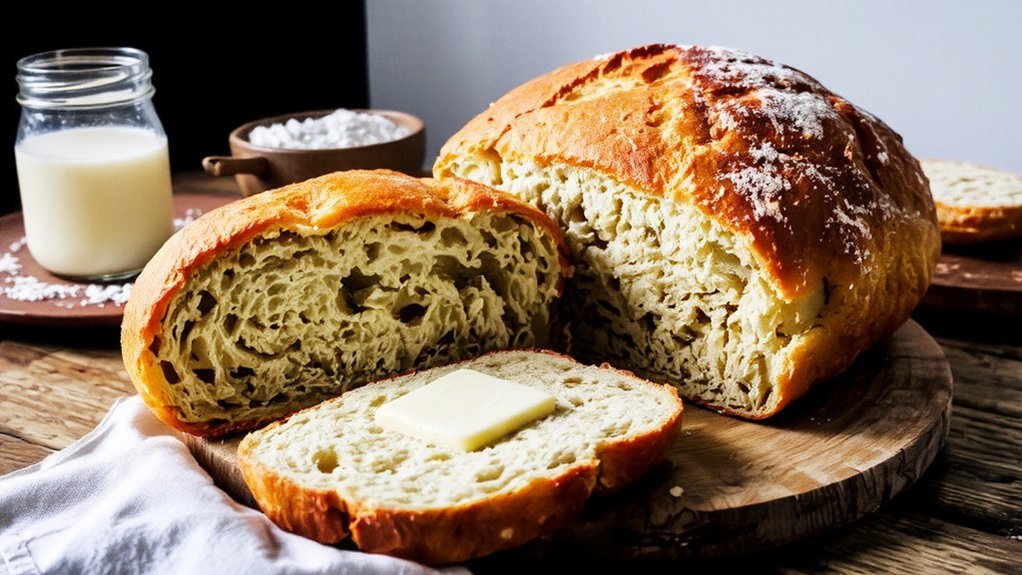
For crumb evaluation, allow your bread to cool completely before slicing—this prevents gumminess and reveals the true texture. You’re seeking an open, tender crumb with irregular holes, not dense compaction.
Regarding crust aesthetics, that golden-brown exterior develops from proper oven temperature and steam. Brush your cooled loaf with melted butter for added richness and shine.
Don’t slice immediately; patience yields cleaner cuts and better presentation. The contrast between your crispy, caramelized crust and soft interior is what you’re after.
These distinctions separate authentic Irish soda bread from amateur attempts, giving you genuine control over your baking results.
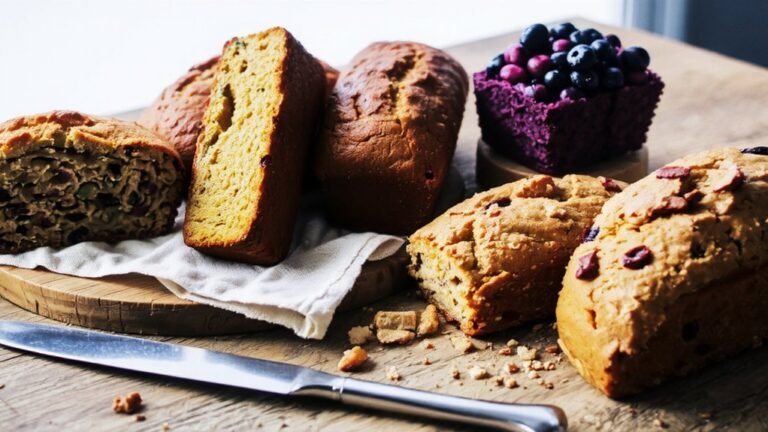
Traditional vs. Modern Variations
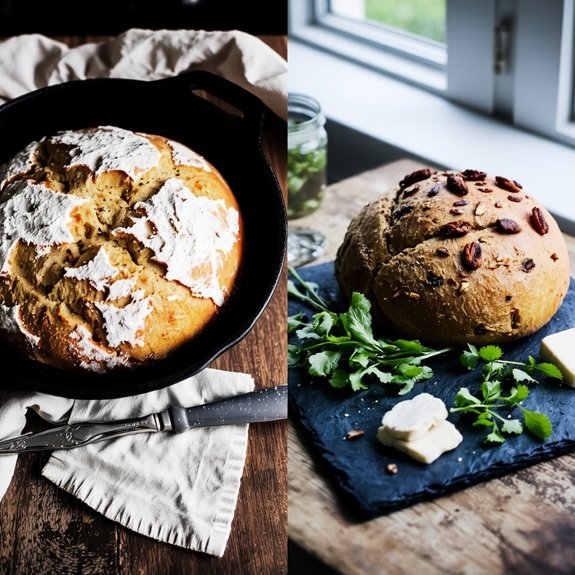
You’ll discover that authentic Irish soda bread relies on just four humble ingredients—flour, salt, baking soda, and buttermilk—while modern bakers often enhance their loaves with additions like caraway seeds, dried fruit, or honey for subtle complexity.
Your baking method matters too; traditionalists stick to a simple cast-iron skillet or griddle, whereas contemporary recipes frequently employ standard ovens with precise temperature control.
These variations reflect how you can honor soda bread’s rustic heritage while adapting it to your own taste preferences and kitchen equipment.
Authentic Recipe Ingredients
The beauty of Irish soda bread lies in its elegant simplicity—traditionally, you’ll need just four basic ingredients: flour, baking soda, salt, and buttermilk.
You won’t find fancy additives here; instead, you’re embracing ingredient symbolism rooted in Irish heritage.
Modern bakers often enhance authentic recipes with:
- Whole wheat flour from artisan mills for deeper flavor
- Caraway seeds representing cultural tradition
- Honey or sugar for subtle sweetness
- Butter for richness and texture
- Eggs for binding and structure
You can honor tradition while experimenting thoughtfully.
Sourcing flour from artisan mills elevates your bread’s character, connecting you to time-honored craftsmanship.
Whether you stick to the original four-ingredient formula or introduce measured variations, you’re crafting something meaningful.
Your freedom lies in understanding the foundation, then deciding which modifications serve your vision.
Modern Flavor Additions
While purists argue that authentic Irish soda bread shouldn’t stray from its four humble ingredients, contemporary bakers are discovering that thoughtful flavor additions can honor tradition while expanding what’s possible. You’re free to experiment with global inspirations and seasonal trends that transform this classic loaf into something uniquely yours.
| Addition | Effect |
|---|---|
| Caraway seeds | Earthy warmth |
| Dried fruit | Natural sweetness |
| Herbs | Aromatic depth |
| Cheese | Savory complexity |
| Spices | Bold character |
You’ll find that subtle modifications elevate the bread without compromising its essence. Consider incorporating local ingredients reflecting your region’s flavors or current harvest. Modern variations allow you to craft a loaf that respects heritage while celebrating your creative vision and personal taste preferences.
Baking Method Differences
Once you’ve settled on your flavor profile, how you bake that dough matters just as much as what goes into it.
Your choice of oven types and pan materials directly impacts your bread’s crust and crumb structure.
Consider these baking variations:
- Cast iron Dutch ovens trap steam for authentic crusts
- Traditional brick ovens deliver unmatched heat distribution
- Modern convection ovens require temperature adjustments and shorter times
- Ceramic or stoneware pans promote even browning
- Standard metal baking sheets work reliably for rustic loaves
Traditional methods favor cast iron on stovetop griddles, creating that signature crusty exterior.
Modern approaches embrace convection ovens for consistency and control.
You’re free to experiment with both approaches, discovering which method aligns with your baking philosophy and equipment availability.
Flavor Add-Ins and Customizations
How can you transform traditional Irish soda bread into something uniquely yours? You’re not bound by convention—customize your loaf freely.
Incorporate herb pairings like rosemary and thyme to add sophisticated depth, or experiment with sage for earthier notes.
Citrus zests brighten your bread beautifully; lemon provides sharp tang while orange delivers subtle sweetness.
Consider adding caraway seeds for authentic Irish character, or venture into dried fruit territory with raisins and currants for unexpected richness.
You might fold in crispy bacon bits, sharp cheddar, or even chocolate chips for bold variations.
These additions won’t compromise the bread’s signature crumb structure—they’ll enhance it.
Trust your instincts and taste preferences. Your kitchen, your rules. Let your Irish soda bread reflect your distinct culinary vision.
Serving Suggestions and Pairings
Since you’ve crafted your customized loaf, let’s talk about showcasing it properly.
Your Irish soda bread deserves pairings that highlight its dense, slightly sweet character.
Your Irish soda bread deserves pairings that highlight its dense, slightly sweet character and rustic charm.
Consider these serving options:
- Cheese board featuring sharp cheddar, creamy brie, and aged gouda alongside your bread
- Breakfast combos with scrambled eggs, smoked salmon, and fresh butter
- Soups and stews where thick slices soak up rich broths perfectly
- Traditional tea service with jam, clotted cream, and honey
- Casual entertaining with charcuterie and pickled vegetables
You’ll find that toasting enhances the bread’s nutty flavors, making it ideal for brunch gatherings.
Serve it warm with quality Irish butter to let the bread’s natural complexity shine.
Whether you’re hosting intimate dinners or casual weekday meals, your homemade soda bread elevates every occasion with authentic character and rustic appeal.
Storage and Shelf Life
You’ll find that Irish soda bread keeps beautifully at room temperature for up to three days when wrapped loosely in cloth or stored in a paper bag, allowing its crust to maintain that perfect crisp texture.
For longer preservation, you can freeze your loaf whole or in slices for up to three months—just wrap it tightly in plastic wrap and foil to prevent freezer burn.
When you’re ready to enjoy it again, simply thaw at room temperature or refresh it in a warm oven for a few minutes to restore its crusty exterior.
Room Temperature Storage
When stored properly at room temperature, Irish soda bread maintains its characteristic dense crumb and subtle sweetness for two to three days.
You’ll want to keep your loaf accessible on your countertop, where it’ll enhance your kitchen’s aesthetic while remaining within reach for your daily workflow.
To maximize freshness, follow these storage guidelines:
- Wrap the cooled bread in parchment paper or a clean kitchen towel
- Store it in a breadbox or ceramic container that allows air circulation
- Keep it away from direct sunlight and heat sources
- Avoid plastic bags, which trap moisture and accelerate staleness
- Store cut-side down if you’ve sliced into it
You’ll enjoy peak flavor and texture when you consume your Irish soda bread within this timeframe.
Freezing for Long-Term
Beyond the two to three-day window that room temperature offers, freezing provides an excellent way to extend your Irish soda bread’s lifespan to several months.
You’ll want to wrap your loaf tightly in plastic wrap and aluminum foil to prevent freezer burn and preserve moisture.
When you’re ready to enjoy it, you can thaw your bread at room temperature for several hours or slice it while frozen and toast it directly.
This flexibility means you’re not locked into consuming your loaf quickly, reducing food waste and your household’s carbon footprint. By freezing bread strategically, you’ll minimize the energy impact of frequent baking sessions. You’ve effectively created your own bread reserve, empowering you to bake on your schedule while maintaining peak freshness whenever hunger strikes.
Frequently Asked Questions
Can I Make Irish Soda Bread Without a Dutch Oven or Cast Iron?
You’ve got freedom here—absolutely bake Irish soda bread without Dutch ovens or cast iron.
Shape your dough, place it directly on a baking sheet, and position your rack in the center.
Create steam by placing a hot water-filled pan below, trapping moisture that gives you that coveted crust.
You’ll achieve remarkable results with this straightforward method, proving you don’t need specialized equipment to master this rustic classic.
What’s the Difference Between Irish and American Soda Bread Recipes?
You’ll find Irish soda bread stays true to its historical origins with just four simple ingredients: flour, baking soda, salt, and buttermilk.
American variations break free from tradition, adding sugar, butter, and eggs for sweetness.
Regional variations across America incorporate raisins, caraway seeds, or even beer.
The Irish version’s dense, crusty texture contrasts sharply with America’s sweeter, cake-like interpretation.
Your choice depends on whether you’re honoring authentic heritage or embracing modern experimentation.
Why Does My Soda Bread Turn Out Dense and Heavy?
Your soda bread turns dense because you’re likely overmixing the dough, which develops gluten and crushes those vital air pockets.
You’ll also want to check your leavening—insufficient baking soda won’t generate enough lift.
Mix just until ingredients combine; don’t knead it like regular bread.
Use fresh baking soda, measure accurately, and work quickly.
These adjustments’ll give you that light, tender crumb you’re after.
Can I Freeze Irish Soda Bread Dough Before Baking It?
You can absolutely freeze your soda bread dough before baking it.
For best results, wrap it tightly and freeze immediately after mixing—don’t let it sit first. Your storage duration can extend up to three months without compromising quality.
When you’re ready to bake, thaw it overnight in the refrigerator, then bring it to room temperature before shaping and baking. This freeze timing approach gives you complete control over your baking schedule.
How Do I Know When My Soda Bread Is Fully Baked?
You’ll know your soda bread’s done when the crust color turns deep golden-brown and sounds hollow when you tap the bottom. Don’t rely solely on appearance—check the internal temperature with a thermometer; you’re aiming for 190-200°F at the center.
This guarantees the crumb’s fully set and moisture’s properly baked out. Trust these indicators, and you’ll achieve that perfect, independent bake every time.


Leave a Comment