Key Takeaways
- Combine two cups flour, one teaspoon baking soda, half teaspoon salt, and spices; whisk dry ingredients until evenly distributed.
- Mix three-quarter cup oil, two eggs, one cup honey, and vanilla separately; fold gently into dry ingredients with minimal strokes.
- Use two cups diced firm apples like Granny Smith or Honeycrisp for balanced tartness, texture, and natural sweetness in loaf.
- Bake at 350°F for fifty to sixty minutes until internal temperature reaches 205–210°F and toothpick comes out clean or nearly clean.
- Cool fifteen minutes in pan, then transfer to wire rack; store wrapped at room temperature three days or frozen three months.
Ingredients You’ll Need
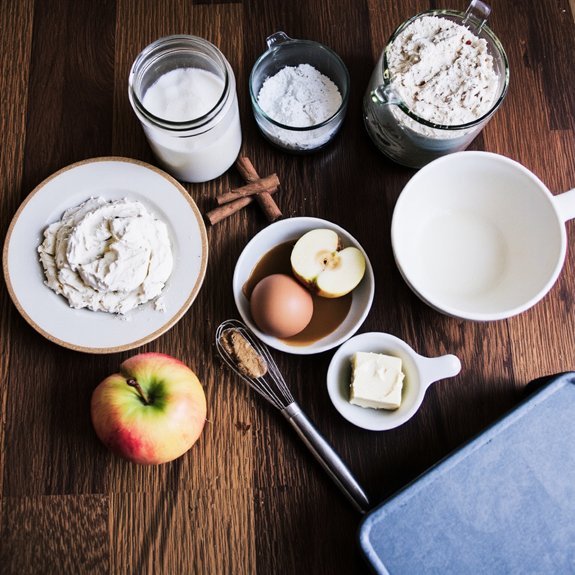
You’ll need two cups of all-purpose flour, one teaspoon of baking soda, half a teaspoon of salt, one teaspoon of ground cinnamon, and a quarter teaspoon of nutmeg for the dry ingredients.
Consider using organic flour to control what goes into your batter.
For wet ingredients, gather three-quarters cup of vegetable oil, two eggs, one cup of local honey as your sweetener, and one teaspoon of vanilla extract.
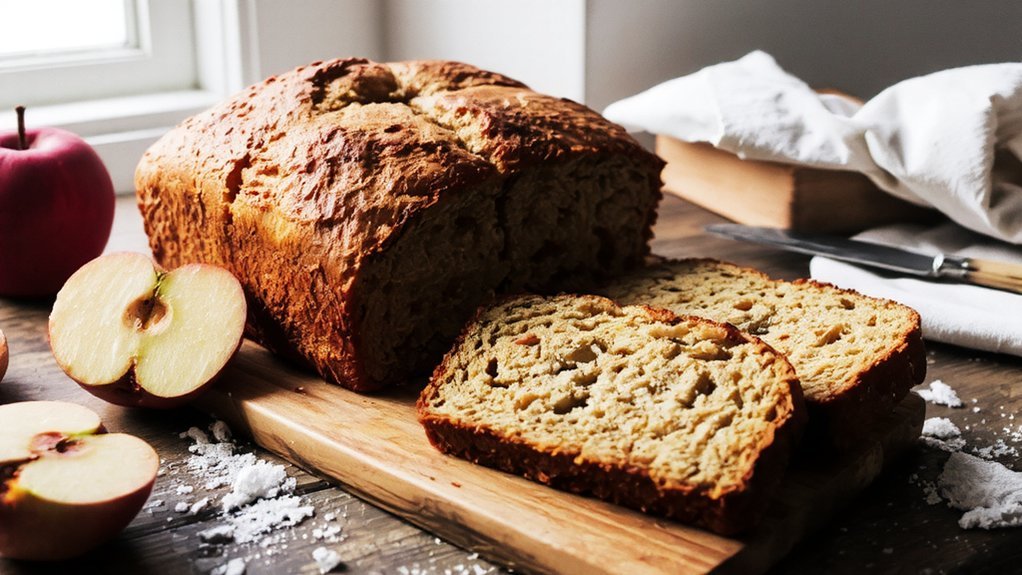
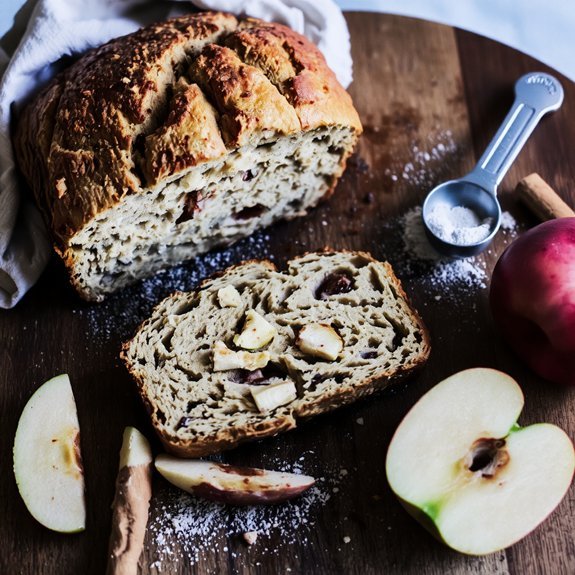
You’ll also need two cups of diced apples—use fresh, firm varieties like Granny Smith or Honeycrisp for ideal texture.
This combination creates a moist, flavorful bread with natural sweetness and aromatic spices.
Having all ingredients measured and ready before mixing guarantees efficient preparation and consistent results.
Choosing the Right Apples
Why do apple varieties matter so much for baking bread?
You’ll discover that cultivar history directly impacts your final product’s success.
Different apple types possess distinct flavor chemistry profiles—some apples break down quickly, releasing moisture and natural sugars, while others maintain structure throughout baking.
Some apples break down quickly, releasing moisture and sugars, while others maintain structure throughout baking.
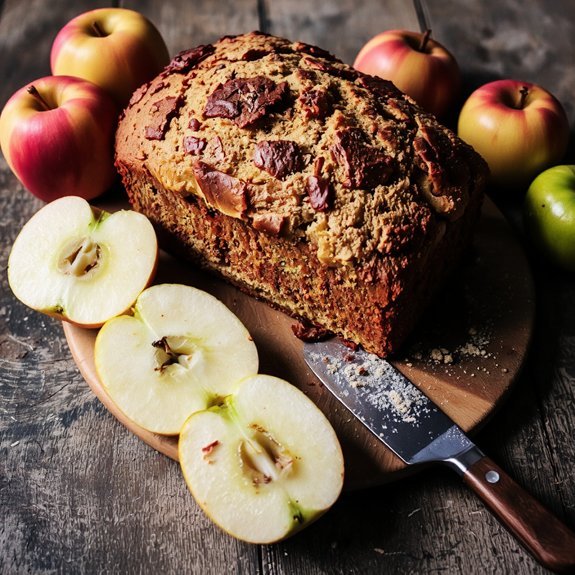
For apple bread, you’ll want varieties offering balanced sweetness and acidity.
Granny Smith apples provide tartness and firm texture, resisting mushiness.
Honeycrisp delivers natural sugars and complexity.
Blend multiple cultivars to achieve depth.
You’re not locked into commercial expectations here.
Experiment freely with heirloom varieties available at farmers’ markets.
Consider each apple’s sugar content, pectin levels, and how it oxidizes during prep.
This knowledge empowers you to craft distinctive bread reflecting your taste preferences and local harvests.
Preparing Your Ingredients
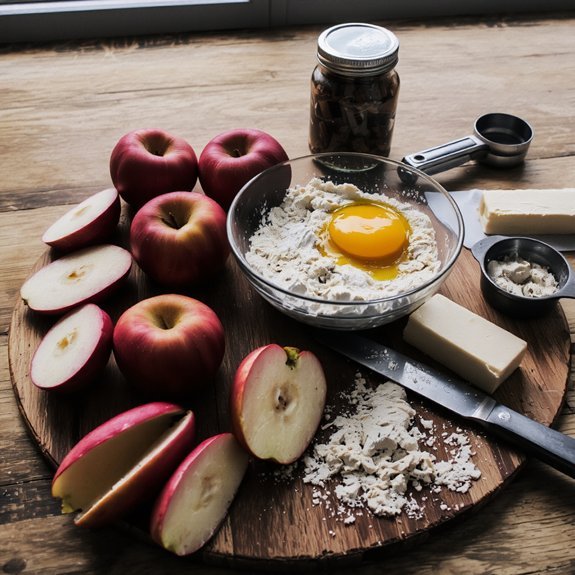
You’ll want to select firm, tart apples like Granny Smiths or Honeycrisps, as they’ll hold their shape and provide balanced flavor without excessive sweetness.
Gather your dry ingredients—flour, baking soda, salt, cinnamon, and nutmeg—and measure each precisely into separate bowls to streamline your mixing process.
Having everything prepped and within reach’ll guarantee you can combine your wet and dry ingredients efficiently without interruption.
Selecting Quality Apples
When it comes to apple bread, the foundation of flavor starts with choosing the right apples.
You’ll want varieties that balance tartness with sweetness, delivering complex notes throughout your bake.
Granny Smith, Honeycrisp, and Braeburn apples work exceptionally well.
Consider these critical factors:
- Organic certification – Seek apples bearing organic labels to minimize pesticide residues and guarantee cleaner produce for your recipe.
- Firmness and texture – Select apples that feel dense and resist gentle pressure, indicating ideal ripeness and structure for baking.
- Visual inspection – Choose unblemished specimens free from bruises, soft spots, or discoloration that compromise quality and flavor integrity.
You’ll achieve superior results by prioritizing these standards.
Quality apples yield richer flavor profiles, better texture, and ultimately, a more satisfying apple bread that respects your commitment to wholesome ingredients.
Gathering Dry Ingredients
Before you begin mixing, assemble all your dry ingredients in one designated area to streamline your baking process.
You’ll need two cups of all-purpose flour, one teaspoon of baking soda, half a teaspoon of salt, and one and a half teaspoons of cinnamon.
Add half a teaspoon of nutmeg and a quarter teaspoon of cloves for depth.
Organize your ingredients by using clear containers and label jars clearly, so you’re never uncertain during preparation.
This method prevents costly mistakes and saves time.
Store your spices in a cool, dark cabinet and rotate stock regularly to maintain freshness and potency.
Measure each ingredient precisely using dry measuring cups and spoons.
Level off flour with a knife for accuracy.
When you’ve gathered everything, you’re ready to combine wet and dry components efficiently.
Mixing the Batter
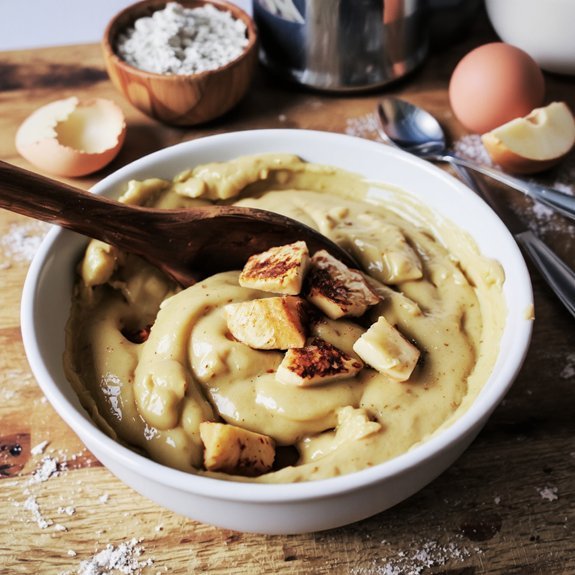
Combine your dry ingredients—flour, baking soda, salt, and cinnamon—in a large bowl, whisking them together until they’re evenly distributed.
In a separate container, blend your wet ingredients: eggs, oil, vanilla, and grated apples.
Pour the wet mixture into your dry ingredients, folding gently to avoid overmixing.
- Tool selection matters: Use a sturdy whisk or wooden spoon for controlled incorporation without crushing air pockets.
- Batter aeration requires finesse: Fold deliberately, combining ingredients with minimal strokes to preserve the light, tender crumb structure your bread demands.
- Stop when small lumps remain: Overmixing develops gluten, resulting in dense, tough bread that’ll disappoint. Slight streaks of flour are acceptable and preferable.
Your batter’s ready for the pan—don’t delay pouring.
Baking Instructions
You’ll preheat your oven to 350°F and pour your batter into a greased loaf pan, ensuring you’ve thoroughly combined your wet and dry ingredients beforehand.
Bake for 50-60 minutes, positioning the pan in the center rack where heat circulates evenly for consistent rise and browning.
You’ll know your bread is done when a toothpick inserted into the center comes out clean or with just a few moist crumbs clinging to it.
Oven Temperature and Timing
Set your oven to 350°F and allow it to preheat for approximately 15 minutes before inserting your batter.
Following these preheat guidelines promotes even heat distribution throughout your loaf’s baking process.
- Position your rack in the center of your oven—this rack placement prevents over-browning on top while allowing the interior to bake thoroughly without burning the bottom.
- Insert your apple bread when the oven reaches full temperature; you’ll bake it for 50-60 minutes until a toothpick inserted in the center emerges clean.
- If the top browns too quickly, tent it loosely with aluminum foil during the final 15 minutes, maintaining your desired crust color while the crumb finishes cooking.
Remove your finished loaf and cool it on a wire rack for 10 minutes before turning it out completely.
Mixing Wet and Dry
Once you’ve prepared your wet and dry ingredients separately, it’s time to bring them together with deliberate care. Create a well in your dry mixture and pour your wet components into the center. Fold gently using a spatula, mixing until just combined—don’t overstir.
This deliberate approach prevents overworking the batter, which’d compromise your bread’s texture. Proper emulsion formation between the oil, eggs, and applesauce promotes moisture distribution throughout.
Meanwhile, controlled air incorporation from your folding technique creates a tender crumb structure. You’ll notice small lumps remaining; that’s acceptable.
Overmixing develops gluten unnecessarily, resulting in dense, tough bread. Stop folding once no dry streaks remain visible. Your batter should look slightly lumpy and rustic, not smooth and uniform. This restraint defines the difference between mediocre and exceptional apple bread.
Testing for Doneness
How do you know when your apple bread’s reached perfect doneness?
You’ll rely on three dependable indicators that give you complete control over your baking results.
- Toothpick method: Insert a toothpick into the bread’s center. It should emerge clean or with just a few moist crumbs clinging to it—never wet batter.
- Internal temperature: Use a meat thermometer to check that your bread’s reached 205-210°F at the deepest point, ensuring full structural integrity.
- Visual cues: The crust should be deep golden-brown, and the bread should pull away slightly from the pan’s sides.
Don’t rely on a single test.
Combine these methods for accuracy. If your bread isn’t done, return it to the oven for five-minute intervals until it passes all three checks.
Testing for Doneness
You’ll know your apple bread is ready when a toothpick inserted into the center comes out clean or with only a few moist crumbs clinging to it. Don’t rely solely on appearance—internal temperature matters. Use a probe thermometer to verify the center reaches 205-210°F, ensuring proper moisture content and structure.
Apply the springback test by gently pressing the top with your finger; fully baked bread should spring back immediately without leaving an indent. The sides should pull slightly from the pan edges. Overbaking dries out your loaf, while underbaking leaves it gummy.
These objective checks give you complete control over your bread’s final texture and doneness, eliminating guesswork and guaranteeing consistent results every time.
Cooling and Storage Tips
Proper cooling directly impacts your apple bread’s texture and shelf life, so don’t skip this essential step. Allow your loaf to cool in the pan for fifteen minutes before transferring it to a wire rack.
This prevents moisture from pooling underneath, which compromises crumb preservation and creates a soggy bottom.
For storage and maximum freshness, follow these guidelines:
- Room Temperature: Wrap cooled bread in plastic wrap or store it in an airtight container for up to three days, maintaining ideal moisture balance without staleness.
- Refrigeration: Place wrapped bread in the fridge for up to one week, slowing mold growth while preserving crumb structure.
- Freezer Packaging: Wrap your loaf tightly in plastic wrap, then aluminum foil, and freeze for up to three months. This dual-layer freezer packaging prevents freezer burn and flavor degradation.
Serving Suggestions and Variations
Apple bread’s versatility shines when you pair it thoughtfully with complementary flavors and textures.
You’ll discover that beverage pairings elevate your experience—try pairing warm slices with spiced coffee, hot cider, or chamomile tea for autumn appeal.
Beverage pairings elevate your apple bread experience—try spiced coffee, hot cider, or chamomile tea for autumn appeal.
Cold milk or vanilla yogurt work brilliantly for lighter moments.
Presentation ideas transform ordinary servings into memorable occasions.
You can dust slices with cinnamon sugar, top them with whipped cream and caramel drizzle, or serve them alongside cheese boards for sophisticated entertaining.
Toast thicker slices for enhanced texture contrast and deeper flavor development.
You’re free to customize variations by incorporating nuts, adjusting spice ratios, or substituting dried cranberries for raisins.
Experiment with glazes—cream cheese frosting or apple cider reduction intensify the bread’s character.
These modifications keep your apple bread fresh and exciting for repeat enjoyment.
Frequently Asked Questions
Can I Make Apple Bread Without Eggs for Vegan or Allergy Purposes?
You can absolutely make egg-free apple bread by using a flaxseed binder—mix one tablespoon ground flaxseed with three tablespoons water per egg, letting it sit five minutes until gelled. Alternatively, you’ll find aquafaba substitute works brilliantly; use three tablespoons aquafaba to replace each egg.
Both options bind your ingredients effectively while maintaining moisture and structure. You’re liberated from conventional restrictions, achieving comparable texture and rise without compromising your dietary choices or managing allergies.
How Long Does Homemade Apple Bread Stay Fresh at Room Temperature?
You’ll find your homemade apple bread maintains ideal freshness for 2-3 days at room temperature. Keep it in an airtight container to combat moisture loss and unwanted odors.
Temperature effects matter considerably—warmer environments accelerate mold development and staleness, while cooler spots extend shelf life.
For extended preservation beyond this window, you’re free to refrigerate it up to a week or freeze it for months, maintaining quality and independence from store-bought alternatives.
Can I Freeze Apple Bread Batter Before Baking It Later?
You can absolutely freeze apple bread batter before baking. Use proper freezer packaging—airtight containers or freezer bags—to prevent freezer burn and flavor development loss.
Pour your batter into your prepared pan, wrap it tightly, and freeze up to three months. When you’re ready to bake, you don’t need to thaw; simply add five to ten extra minutes to your baking time.
This method gives you complete control over when you bake fresh bread.
What’s the Best Way to Reheat Leftover Apple Bread Slices?
You’ve got two solid options for reviving your apple bread slices.
For oven reheating, wrap slices in foil and warm at 350°F for 10 minutes—you’ll restore that fresh-baked texture and moisture.
Alternatively, microwave revival works when you’re pressed for time: wrap a slice in a damp paper towel and heat for 20-30 seconds.
This method prevents your bread from drying out while giving you immediate satisfaction.
Can I Substitute All-Purpose Flour With Whole Wheat or Alternative Flours?
You can absolutely swap all-purpose flour for whole wheat or alternative flours. You’ll need to make hydration adjustments—whole wheat absorbs more moisture, so increase your liquid by 10-15%.
Expect texture differences; whole wheat creates denser, earthier bread with nuttier flavor. Almond flour yields moister crumbs but requires binding agents. Spelt offers lighter results.
Experiment boldly with your ratios. You’ve got the freedom to customize your loaf’s nutritional profile and taste without compromising quality.

Leave a Comment