Key Takeaways
- Mix flour, salt, yeast, and sugar; add warm water (110°F) and knead until smooth dough forms.
- Let dough rise in warm environment (75–80°F) for 1–2 hours until roughly doubled in size.
- Shape dough into cylinder, place seam-side up in floured bowl, and proof 2–4 hours or overnight.
- Bake in preheated Dutch oven at 450°F covered for 20 minutes, then uncovered 25–30 minutes until golden.
- Cool completely on wire rack; store in paper bag at room temperature up to three days.
Ingredients You’ll Need
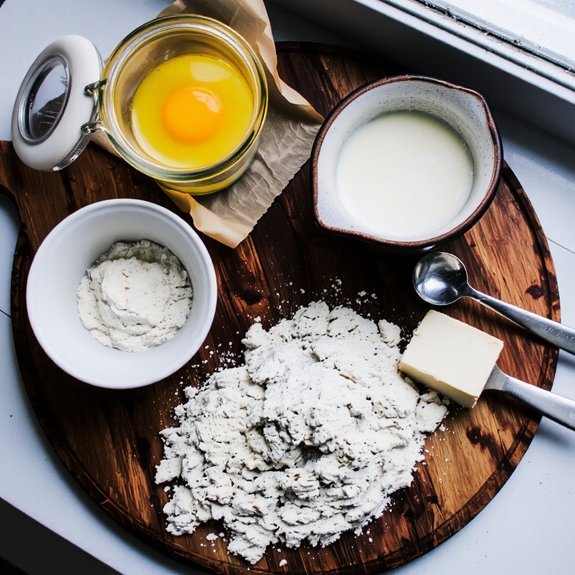
You’ll need just five basic ingredients to make this white bread: 3½ cups of all-purpose flour, 1¼ teaspoons of salt, 2 teaspoons of instant yeast, 2 tablespoons of sugar, and 1¼ cups of warm water (around 110°F).
For precision, measure your flour by weight when possible.
If you prefer organic flour, use it as a direct substitute—it’ll absorb slightly more water, so adjust accordingly.
Replace the sugar with alternative sweeteners like honey or agave nectar at a 1:1 ratio for different flavor profiles.
Your water temperature matters critically.
Too cold, and fermentation stalls.
Too hot, and you’ll kill the yeast.
Stick to 110°F for ideal results.
Gather everything before starting—you won’t have time to hunt for ingredients once mixing begins.
Equipment Required

Now that you’ve assembled your ingredients, gathering the right equipment guarantees you’ll execute each step smoothly.
You’ll need a large mixing bowl, sturdy wooden spoon, and digital scale for precise measurements. A stand mixer with a dough hook attachment accelerates kneading considerably, though hand-mixing works fine if you’re willing to invest extra effort.
Invest in quality baking sheets and a reliable oven thermometer—accuracy matters here. You’ll also want a banneton proofing basket or clean kitchen towel for shaping.
Regarding Tool Maintenance, wash your equipment immediately after use and inspect it regularly for wear. Keep your mixer’s components clean and properly lubricated.
For Safety Gear, wear an apron to protect your clothing and use oven mitts when handling hot surfaces. These essentials give you complete control over your bread-making process.
Mixing Your Dough
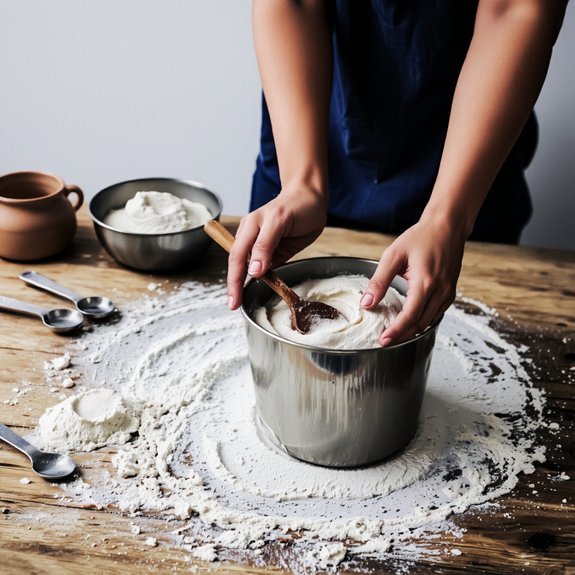
Combining your ingredients requires a methodical approach to develop proper gluten structure. You’ll mix your dry ingredients—flour, salt, and yeast—before adding water. Stir until you’ve incorporated everything, then let the mixture rest for twenty minutes. This autolyse period allows flour to fully hydrate.
Next, begin hand kneading on a clean surface. Push the dough away with your palm, fold it back, rotate it, and repeat for ten minutes. You’re building strength through consistent, deliberate motions. Gluten development creates the elastic network that traps gas bubbles, giving you that perfect crumb structure.
Your dough should transform from shaggy to smooth and slightly tacky. You’ll feel the transformation under your hands. This hands-on method gives you complete control over your bread’s quality without depending on mechanical mixers.
You’re in charge of your baking destiny.
The First Rise
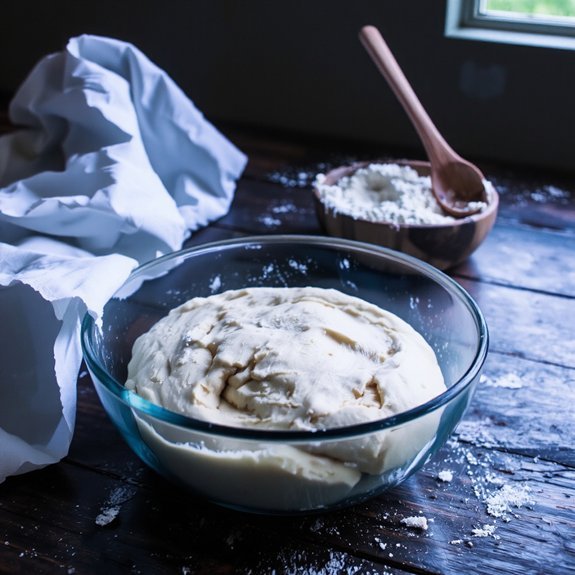
You’ll want to place your mixed dough in a warm environment between 75-80°F to activate the yeast properly.
Watch for visible signs of activation: the dough should roughly double in size within 1-2 hours, and you’ll notice bubbles forming throughout the mass.
If you don’t observe these indicators, your water temperature was likely too hot (killing the yeast) or too cold (slowing fermentation).
Warm Water Temperature
Why does water temperature matter so much for the first rise? You’ll activate yeast most effectively at 110-115°F (43-46°C). This temperature range energizes yeast cells without killing them, ensuring predictable fermentation.
Cold water slows fermentation dramatically, wasting your time. Boiling water destroys yeast entirely. You need precision here—use a thermometer, not guesswork.
Water’s mineral content affects gluten development and fermentation speed. Harder water (higher mineral content) strengthens dough structure. Softer water requires slight adjustments to your technique.
You’ll reduce energy consumption by maintaining proper temperatures throughout the first rise. A controlled environment at 75-78°F lets yeast work efficiently for 1-2 hours.
You’re taking control of the process, not leaving results to chance. This independence in breadmaking starts with respecting fundamental chemistry.
Yeast Activation Signs
Once your dough’s mixed and resting in that warm environment, visible signs confirm the yeast’s working properly. You’ll notice foam formation rising above the dough’s surface within 1-2 hours, indicating active fermentation. The aroma changes distinctly—expect a pleasant, slightly tangy smell replacing the neutral initial scent.
| Sign | Timeline |
|---|---|
| Foam formation begins | 45-60 minutes |
| Dough volume doubles | 1-2 hours |
| Aroma intensifies | Throughout rise |
You’re looking for roughly double the original volume—that’s your target endpoint. Don’t rush this; proper fermentation develops flavor and structure you can’t achieve otherwise. Trust the process. When you poke the dough, it should spring back slowly, not immediately. This first rise establishes everything for your bread’s final quality and crumb structure.
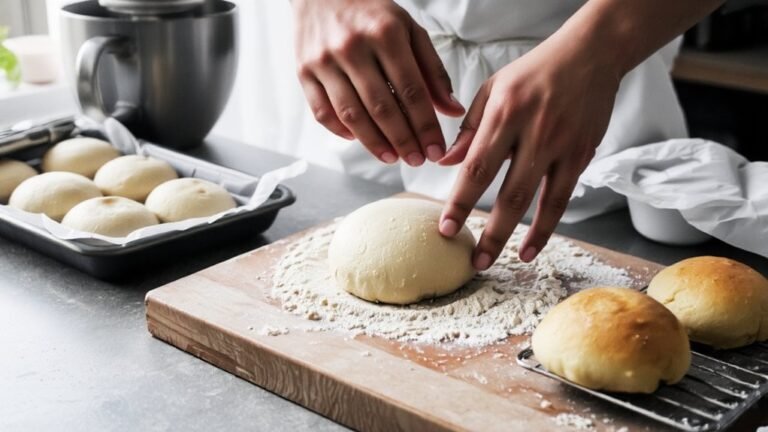
Shaping Your Loaf
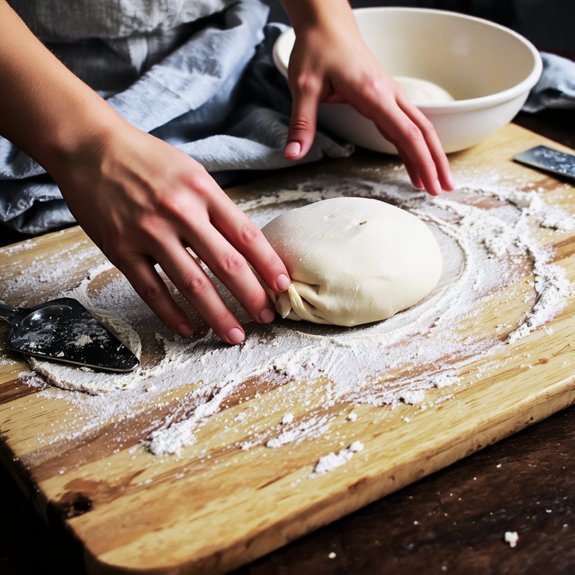
Properly shaping your dough determines how your bread’ll rise and bake.
You’ll want to create tight tension on the dough’s surface by folding the edges toward the center, then rolling it into a cylinder. This tension develops gluten strength, enabling proper oven spring.
Place your shaped loaf seam-side up in a banneton basket or bowl lined with flour. Let it proof for 2-4 hours at room temperature, or overnight in the refrigerator for enhanced flavor development.
Before baking, transfer your loaf seam-side down onto parchment paper. Score patterns across the top using a sharp blade—diagonal slashes, crosshatch designs, or leaf patterns work well. These scoring patterns control where your bread expands, preventing random splitting and directing steam release for ideal crust formation.
The Second Rise
You’ll need to monitor your dough’s rise time carefully—typically 45 minutes to an hour at room temperature (68-72°F)—until it increases by about 50% in volume.
Your environment matters notably; warmer conditions accelerate fermentation while cooler spaces slow it down, so you’ll adjust your timing accordingly.
Place your shaped loaf in a warm, draft-free spot, ideally between 75-80°F, to achieve consistent, predictable results.
Optimal Timing Guidelines
After shaping your dough into a loaf, you’ll want to let it rise for 1 to 2 hours at room temperature (68–72°F), until it’s increased by roughly 50 percent in volume and springs back slowly when poked with a floured finger.
You’ll control your batch scheduling by monitoring these precise intervals.
Warmer conditions accelerate fermentation; cooler temps extend timing.
This flexibility lets you adjust your time budgeting around your schedule—you’re not locked into rigid constraints.
Test doneness by the poke method: your finger should leave a slight indentation that doesn’t immediately spring back.
If it bounces back completely, you’ve underproofed.
If it doesn’t spring back at all, you’ve overproofed.
Once your loaf reaches ideal proof, you’re ready for baking.
Temperature and Environment
While the poke test tells you when your loaf’s reached its ideal volume, the conditions surrounding that rise—temperature, humidity, and air circulation—determine how quickly you’ll get there.
You’ll want to maintain 75-78°F for ideal fermentation speed. Monitor ambient humidity levels; 65-70% prevents your dough’s surface from drying out while allowing controlled expansion.
Position your loaf away from direct heat sources and cold drafts. Draft control matters substantially—excessive air circulation accelerates moisture loss and creates an uneven crust.
You’re not locked into a rigid timeline; adjust your environment to suit your schedule. Warmer kitchens accelerate rising by 25-30%, while cooler spaces extend fermentation, developing superior flavor complexity. Master these variables, and you’ll command consistent, predictable results every bake.
Preparing for Baking
Proper setup guarantees consistent results and prevents common baking mishaps. You’ll want to complete your safety checklist before you begin—verify that your oven racks are positioned correctly and your equipment is clean and functional.
Proper setup prevents common baking mishaps and guarantees consistent results every time.
Clear your workspace cleanup of unnecessary items to create an unobstructed baking zone.
Gather all ingredients and tools within arm’s reach. You need your mixing bowls, measuring cups, kitchen scale, stand mixer or mixing spoon, and proofing container.
Position your oven thermometer inside to confirm accurate temperature readings. Make sure your work surface is properly floured and ready for kneading.
Check that your dough has finished its bulk fermentation phase. You’re now prepared to shape your dough with confidence and precision, ready to move forward without interruption or confusion.
Baking Your Bread
Transferring your shaped dough to a preheated Dutch oven guarantees you’ll capture steam during the initial bake phase, which creates that desirable crispy crust.
Set your oven to 450°F and bake covered for 20 minutes, then uncovered for 25-30 minutes until the internal temperature reaches 205-210°F.
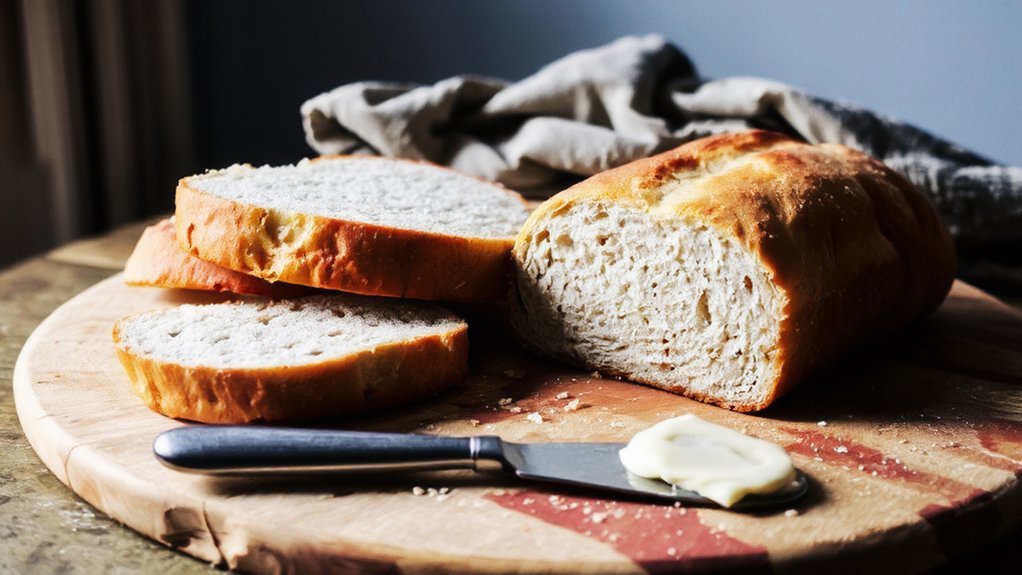
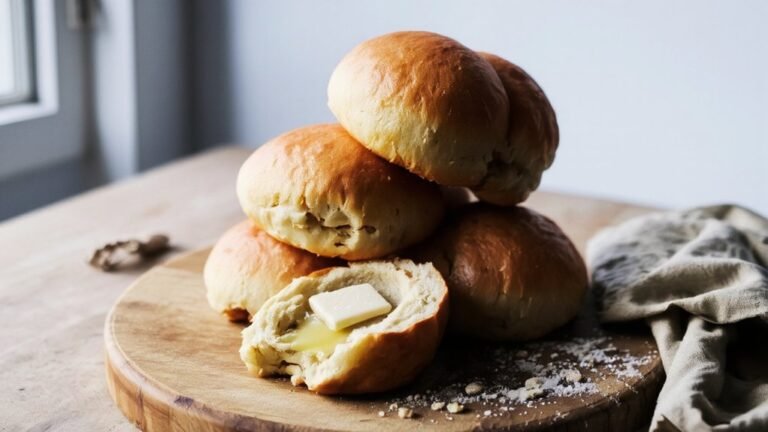
You’ll know you’re done when you’ve achieved a deep golden-brown exterior.
Remove the loaf and cool completely on a wire rack—this step’s critical for proper crumb structure.
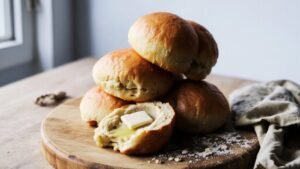
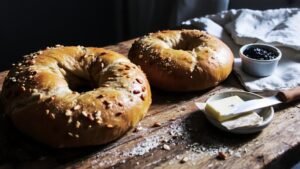
For serving suggestions, slice your bread while it’s still slightly warm.
Consider presentation plating with complementary spreads like cultured butter or artisanal jam.
Serve alongside soups or use for sandwiches.
Store cooled bread in a paper bag to maintain crust integrity while preserving interior moisture for up to three days.
Cooling and Storage
Cooling your bread completely on a wire rack before storage is essential—you’ll prevent condensation from softening your crust while allowing steam to escape from the crumb structure.
Once cooled, you’ve got options.
For short-term storage, keep your loaf in a bread box or paper bag at room temperature for up to three days.
For extended preservation, freezer storage offers ideal results—wrap your bread tightly in plastic wrap, then aluminum foil to prevent freezer burn.
You’ll maintain quality for up to three months.
Slice before freezing for convenient portioning.
For staling prevention during room-temperature storage, maintain humidity levels around 60-65% and avoid refrigeration, which accelerates moisture migration from crumb to crust, degrading texture faster than freezing.
Tips for Perfect Results Every Time
You’ll achieve consistent results by measuring your ingredients with a kitchen scale rather than cups, as this guarantees precise flour-to-liquid ratios every time.
Monitor your dough temperature throughout mixing and fermentation, keeping it between 75-78°F, since temperature directly controls fermentation speed and gluten development.
Master your proofing timing by performing the poke test—gently press the dough, and it should spring back slowly within 2-3 seconds, indicating it’s ready for the oven.
Measure Ingredients Accurately
Precision in measurement separates successful bread from inconsistent batches, and it’s the foundation of reliable white bread baking.
You’ll want to use a kitchen scale rather than cups, since measurement errors can throw off your ratios and ruin your loaf’s texture.
Weigh your flour, water, salt, and yeast in grams for accuracy. Don’t rely on conversion shortcuts—they’ll compromise your results.
Each ingredient plays a specific role, and even small deviations matter.
You should level flour with a knife after scooping, never pack it down. For liquids, measure at eye level. Temperature matters too; use lukewarm water around 110°F to activate your yeast properly.
This disciplined approach gives you complete control over your baking outcomes and guarantees consistent, reliable white bread every time.
Monitor Dough Temperature
Maintaining proper dough temperature directly impacts fermentation speed and gluten development, making it one of the most critical variables in white bread baking.
You’ll want to monitor your dough temperature throughout the process using dough logging—tracking temperatures at mixing, after bulk fermentation, and before shaping.
Ideal dough temperature ranges between 75-78°F for prime fermentation.
You’re free to adjust based on your environment and schedule preferences.
Use an instant-read thermometer for accuracy, inserting it into the dough’s center without touching the bowl.
Safety limits exist too.
Don’t exceed 82°F, as excessive heat accelerates fermentation unpredictably, potentially compromising texture and flavor.
Below 70°F slows fermentation markedly.
Perfect Proofing Timing
Because fermentation speed directly links to dough temperature, proofing timing becomes your most reliable indicator of readiness rather than fixed clock times. You’ll achieve consistent results by monitoring visual cues instead of watching the clock.
| Temperature | Time Range | Visual Indicator |
|---|---|---|
| 68-70°F | 3-4 hours | Dough doubles, slight dome |
| 70-75°F | 2-3 hours | Jiggles when moved gently |
| 75-80°F | 1.5-2 hours | Poke test: indent springs back slowly |
For reliable batch scheduling, use your kitchen calendar to track ambient conditions and dough behavior. You’ll poke your dough gently—if the indent slowly rebounds, you’re ready to shape. Slightly over-proofed dough produces open crumb structure; under-proofed yields dense bread. You control your timeline by understanding these physical signals, not arbitrary time limits.
Frequently Asked Questions
Can I Freeze White Bread Dough, and for How Long?
You can absolutely freeze white bread dough for up to three months.
Prepare your dough, then wrap it tightly in plastic wrap and aluminum foil before freezing.
For thawing methods, you’ve got two options: thaw overnight in your refrigerator for eight to twelve hours, or let it sit at room temperature for four to six hours. After thawing, your dough’s ready to rise and bake according to your original recipe instructions.
What’s the Difference Between Bread Flour and All-Purpose Flour?
You’ll find bread flour contains 12-14% protein content, while all-purpose flour sits at 10-12%.
This difference directly impacts gluten development—bread flour’s higher protein creates stronger gluten networks, giving you chewier, more structured loaves. You’re controlling your dough’s texture and rise by choosing between them.
For ideal results, substitute all-purpose flour at a 1:1 ratio, though you’ll notice slightly less elasticity and a softer crumb structure in your final product.
How Do I Know if My Bread Is Fully Baked?
You’ll know your bread’s fully baked when the crust color turns golden-brown throughout.
Use an instant-read thermometer to verify the internal temperature reaches 190-210°F at the loaf’s center.
You’ve got the freedom to tap the bottom—it’ll sound hollow when done.
Don’t rely solely on appearance; temperature’s your reliable indicator.
Pull it out immediately once it hits proper temp, then cool completely before slicing.
Can I Use Instant Yeast Instead of Active Dry Yeast?
Yes, you can substitute instant yeast for active dry yeast. You’ll notice activation differences—instant yeast hydrates faster, requiring less soaking time.
Adjust your rising times by reducing them by about 25%, since instant yeast ferments more quickly. Maintain a 1:1 ratio by weight, though you can use slightly less instant yeast if you prefer.
This flexibility lets you control your baking schedule without compromising your bread’s quality or structure.
Why Did My Bread Turn Out Dense Instead of Fluffy?
Your bread turned dense because you’re likely underproofing problems or overkneading dough. You’ve got to nail your rise times—don’t rush bulk fermentation or final proofing.
Overworking gluten develops too much strength, trapping gas and creating a tight crumb. Follow precise timing: bulk ferment until doubled, then shape and proof until it springs back slowly when poked. You control these variables, so adjust your technique and you’ll get that fluffy loaf you want.


Leave a Comment